Initial Setup
Before sending me the P1, Nate had added a 2nd m.2 SSD – 1TB 2280 NVMe. Nice bonus 🙂 He had also initiated a full reset of Windows 10 but left it there at OOBE (out of box experience) so I could complete the setup, described briefly below.
Side note: there are several ways to initiate an OS reset. If Win 10 is bootable: Settings -> Update & Security -> Recovery, and from there Reset or Advanced startup. Another option is to hold the SHIFT key during a restart. That should bring up Advanced startup options including Troubleshoot -> Reset. If Win 10 isn’t bootable Advanced startup options may be offered at power on. Failing that it will be necessary to use bootable media – either locally created or downloaded from Lenovo or Microsoft.
Locally created media:
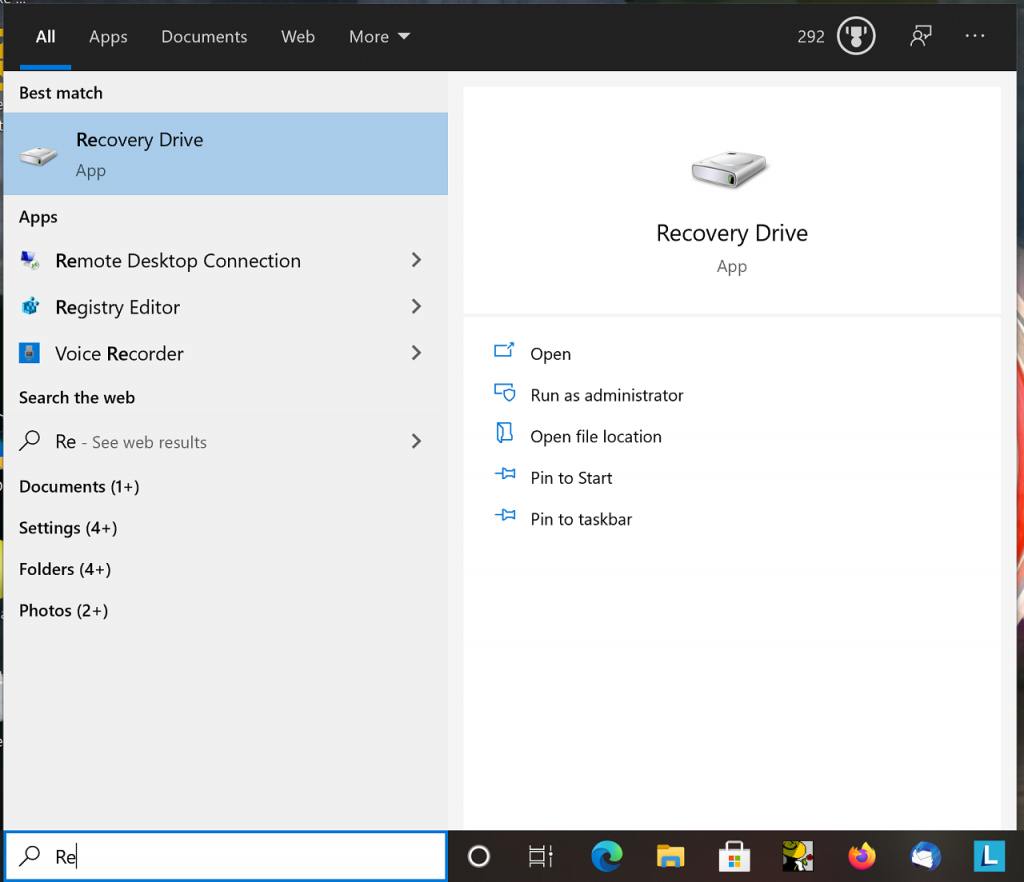
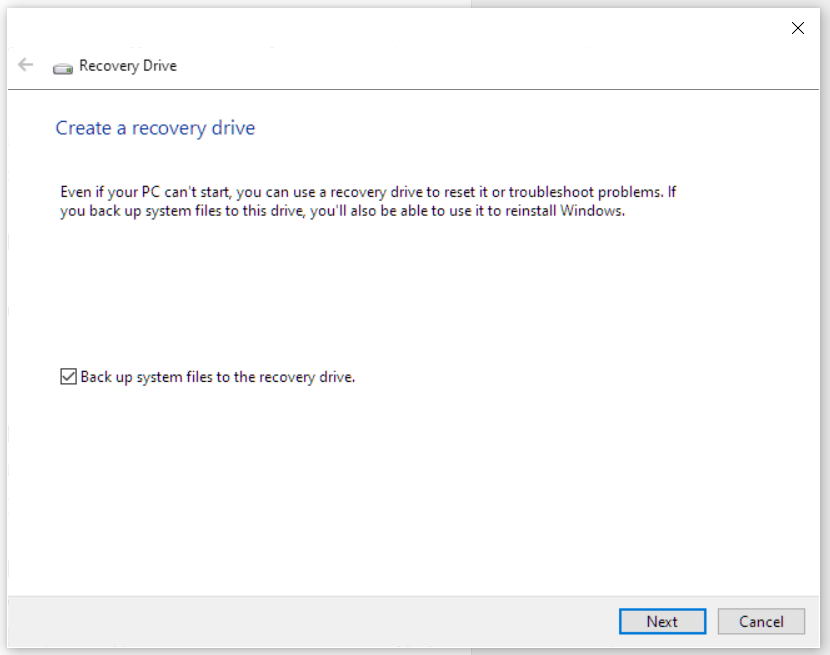
Hopefully you’ve already done this before trouble strikes (Nate did and sent a flash drive with the laptop). This works a bit differently now that MS has implemented PBR – push button reset. The media created incorporates any operating system updates that have occurred since the system was originally set up. This is different than the old-style recovery media that actually returned the machine to as-shipped state. Type “Recovery Drive” in the Windows toolbar search box. You should be presented with the tool to create bootable media. Be sure to check the “Back up system files…” box. A 16GB USB flash drive will be required.
Downloaded recovery media:
Lenovo and Microsoft provide Windows 10 install images. They both first download a media creation tool, which is then invoked to do the actual image download and flash drive creation.
Lenovo:
Lenovo makes full install images – including Windows 10 and Lenovo drivers and software – for more recent ThinkPads available for download. (Nate did that too – and also included that flash drive with this P1.) Lenovo Digital Download Recovery Service (DDRS): Download the files needed to create a Lenovo USB Recovery key
Microsoft:
MS provides “clean” install images. If desired (usually required) an install of a MS clean image can be followed by installing Lenovo Vantage from the MS store, and using that to pull down appropriate Lenovo drivers and software. Download Windows 10 Lenovo Vantage
Note that all of the above methods of creating recovery media create UEFI-bootable flash drives. A nice thing about that is that the files on the flash drives can be archived and used to create a new flash drive in future if required. Nothing special is needed to create that drive – not Rufus or any other fancy tool – just copy the files to a FAT32-formatted flash drive. Easy peasy.
Finally, OOBE setup:
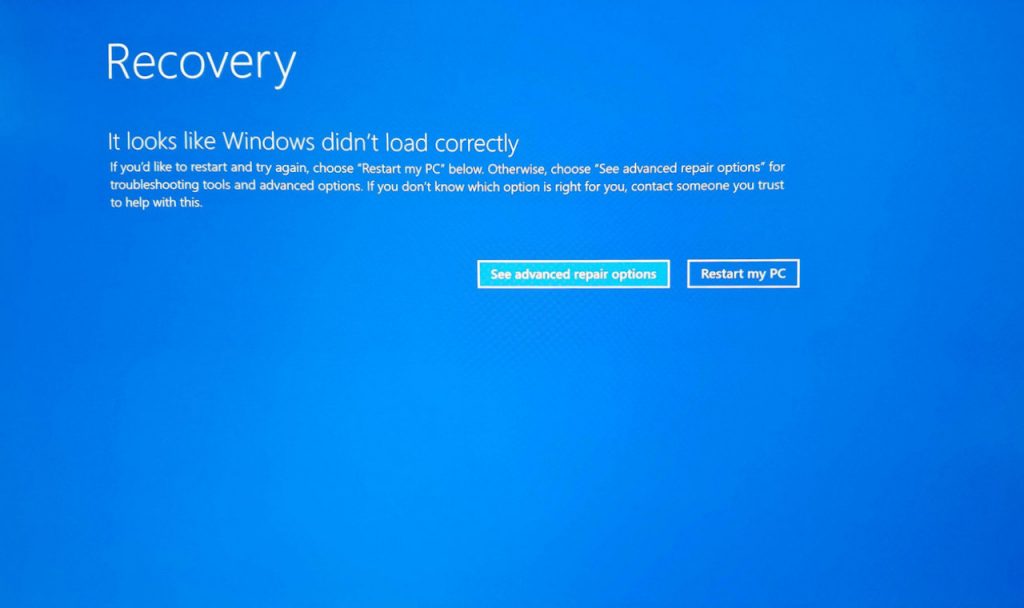
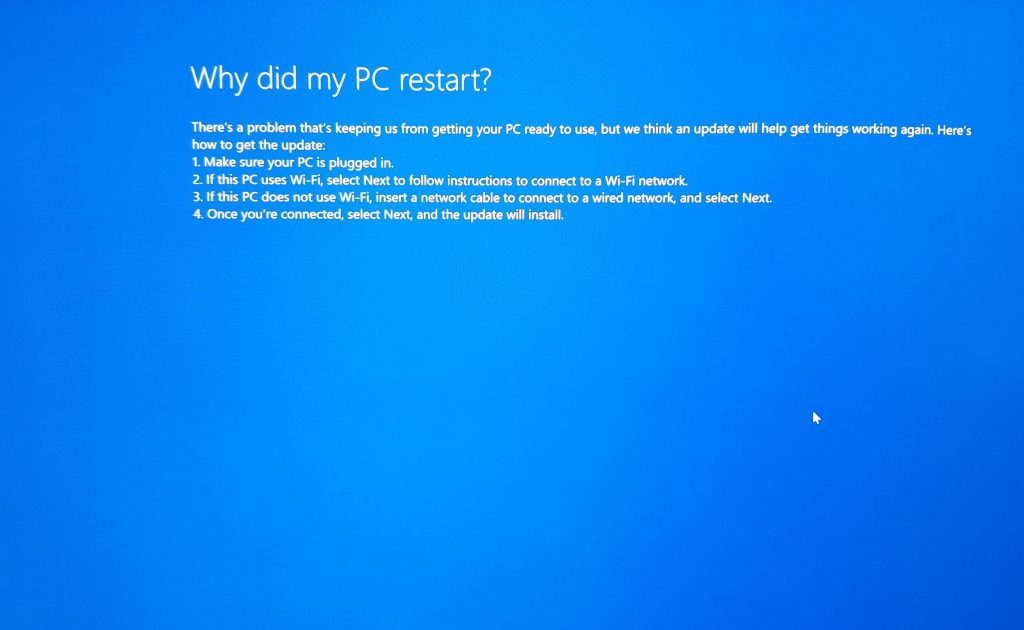
This is normally straightforward, whether really out-of-box or after a local reset or recovery from external media. This time it threw an error. I accepted the advanced repair options – let it connect to the internet and download some presumed missing driver. That worked. Why it worked, and why it failed in the first place… no clue.
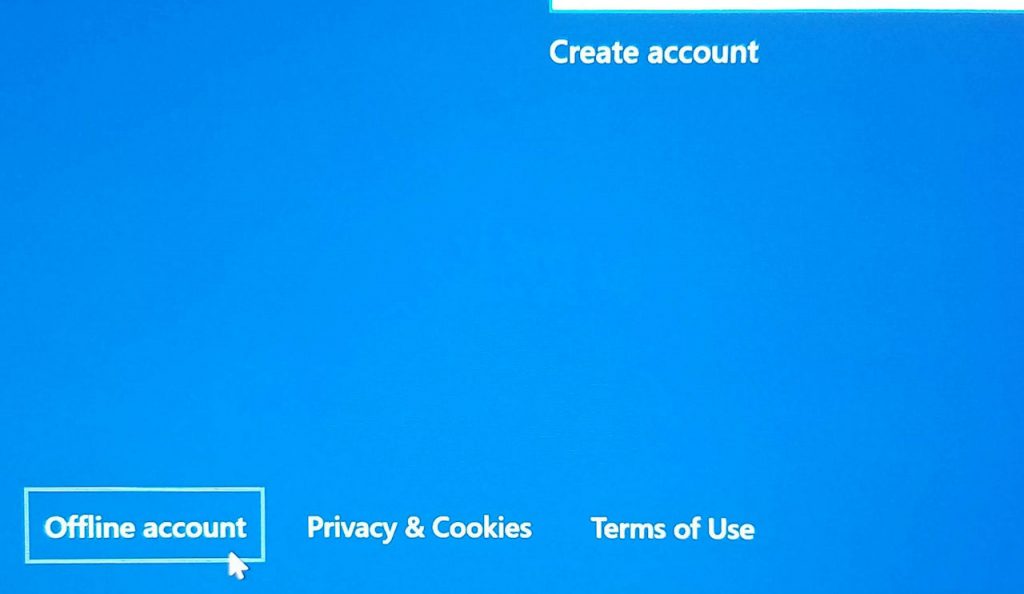
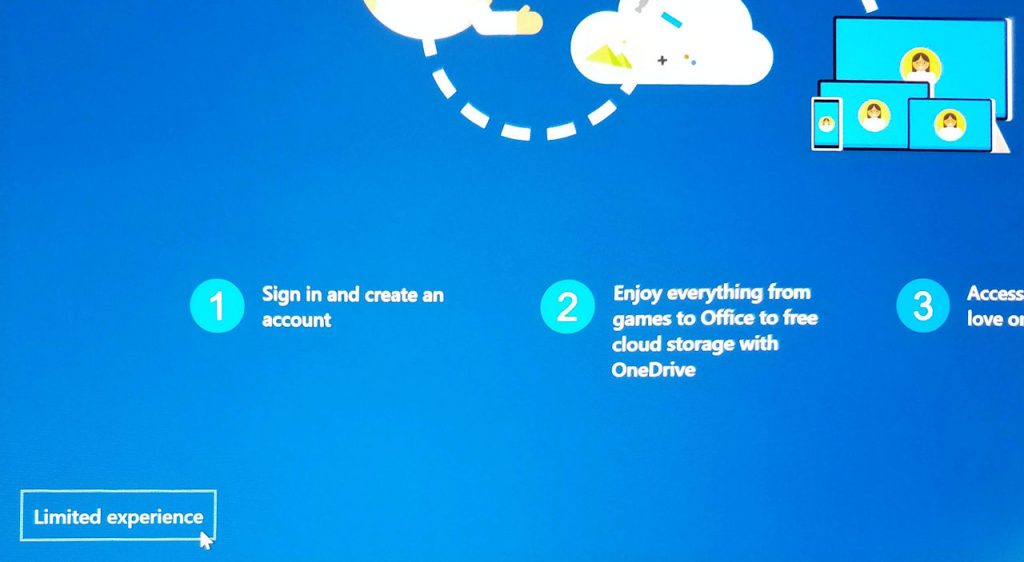
After that the setup went as expected – complete with the usual Microsoft attempt to get me to use a MS account for my login. Thanks, but no thanks, even if I end up with a “limited experience”. This constant pressure from MS to hand over the keys to the castle continues to piss me off. It’s intrusive, inappropriate, and can lead to surprises, like Bitlocker getting activated automatically. At least so far – on business class machines (ThinkPads) – it’s fairly easy to opt out. With the consumer grade IdeaPads it’s nearly impossible. Last couple I set up I had to make sure they couldn’t access the internet during configuration. Only then was I given the option to use a local account. Grrrrrr…..

