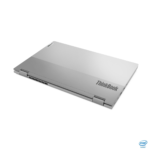
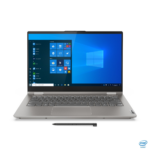
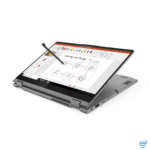
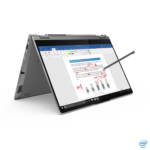
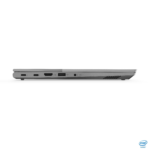
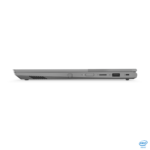
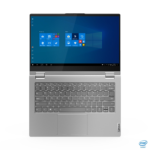
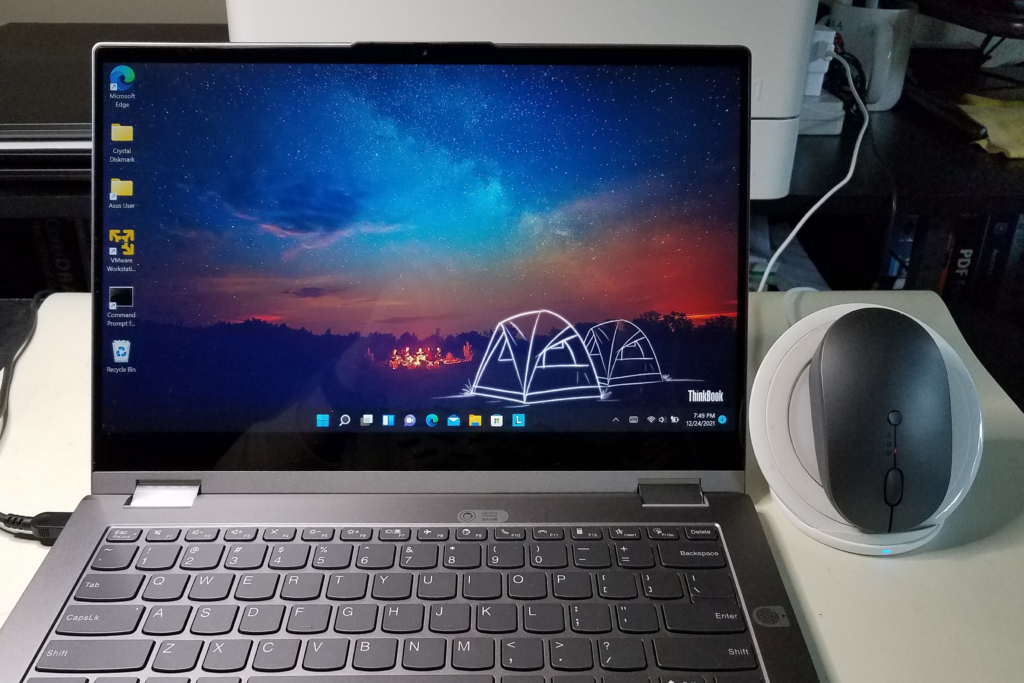
I’m a hard-core, dyed-in-the-wool, rabid, militant TrackPoint fan. I did not expect to like this ThinkBook as much as I do. It’s a tight piece of engineering, and other than missing that red nubbin, it’s a first-rate machine. Slim, decent weight, good specs and options, a stylus, and an aluminum case. And it’s a Yoga.
From time to time Lenovo sends me a gadget. They’re handy to have around – both for my own use and when trying to help out in the Lenovo forums. I do some testing and writing as well. Beyond the use of the laptop, I’m not otherwise compensated. Professional images are Lenovo’s. Amateur snapshots are mine. Opinions are exclusively mine. I do not work for, represent, or speak for Lenovo.
I’ve done my best to gather accurate information, but things are subject to change and correction. Please double-check anything I say here before using it to make a purchase decision.
As usual, this is not quite a review. More a survey of things that interest me. We’ll dig into the details, but first – Lenovo images and a video (edited). Click on gallery for full-sized images.
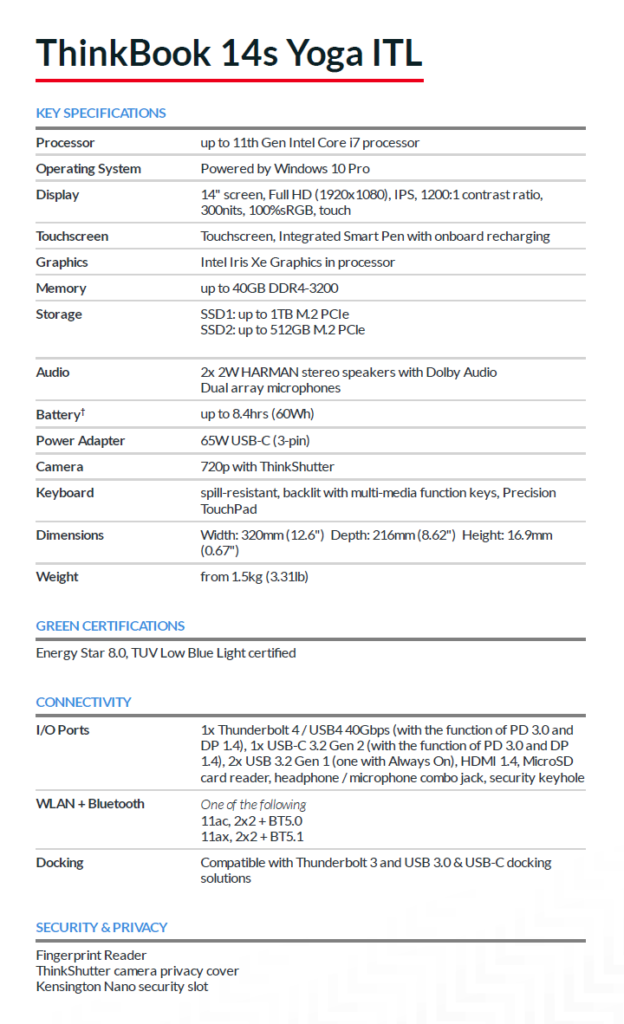
Base Specifications:
Full base specifications:
ThinkBook 14s Yoga.pdf (local copy 2021.12.27)
ThinkBook 14s Yoga.pdf (lenovo.com)
ThinkBook 14s Yoga – all PSREF pages, including models, specifications, photos, documentation, and service (Lenovo.com)
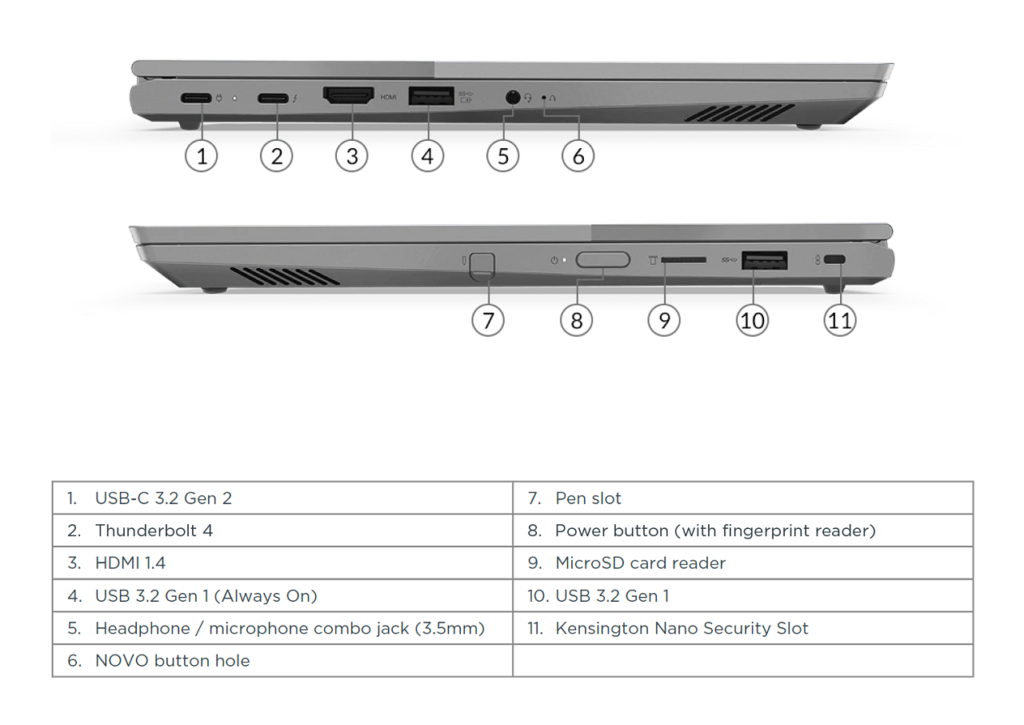
Ports:
It’s worth noting that the fingerprint reader is incorporated with the power button, which is on the right side. It works surprisingly well, as does the one on the top deck of my ThinkPad X1 Yoga Gen 6. All of my earlier ThinkPads that use the small square FPR have problems with reading my prints consistently.
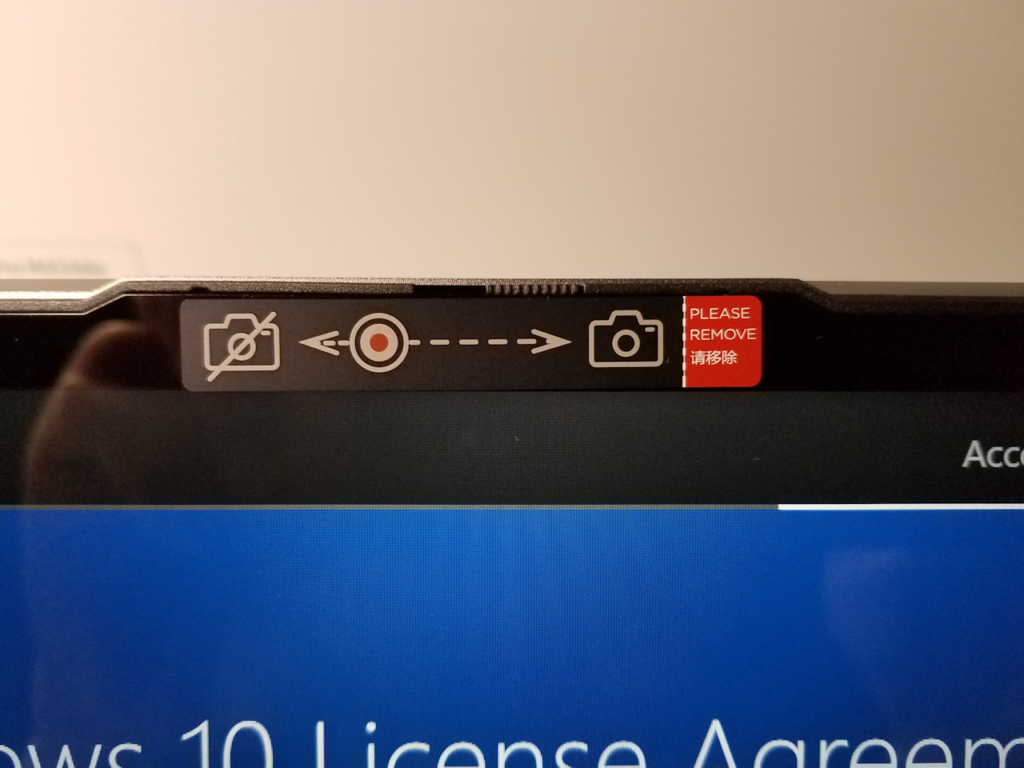
Another thing to note is the privacy shutter that can cover the camera lens. It’s small, easy to miss, and easy to accidentally slide over the lens. You’d be surprised how many times someone shows up in the forums with a “defective” camera, only to leave humbled by that little thing. It really is easy to miss. Nice that the ‘Book shipped with a reminder 😉
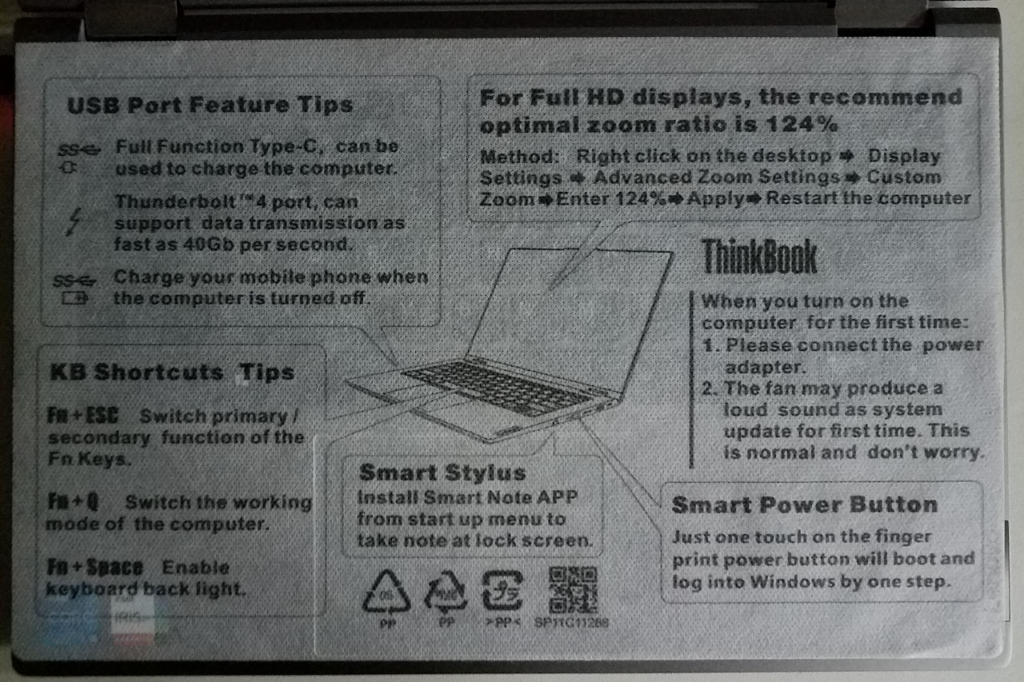
Yet another nice touch: the sheet that protects the display from the keyboard during shipping includes some tips. Thoughtful.
This unit’s specifications:
In brief:
- Processor: Intel® Core™ i5-1135G7 (4C / 8T, 2.4 / 4.2GHz, 8MB)
- Graphics: Integrated Intel Iris® Xe Graphics
- Memory: 8GB Soldered DDR4-3200 + 8GB SO-DIMM DDR4-3200
- Storage: 512GB SSD M.2 2242 PCIe 3.0×4 NVMe
- Card Reader: MicroSD Card Reader
- Audio Chip: High Definition (HD) Audio, Realtek® ALC3287 codec
- Speakers: Stereo speakers, 2W x2, Dolby® Audio™, Harman Speakers
- Camera: 720p with ThinkShutter
- Microphone: 2x, Array
- Battery: Integrated 60Wh
- Max Battery Life: MobileMark® 2018: 8.4 hr
- Power Adapter: 65W USB-C (3-pin)
- Display: 14″ FHD (1920×1080) IPS 300nits Glossy, Glass, 100% sRGB,
Touch, Dolby Vision™ - Touchscreen: 10-point Multi-touch
- Keyboard: Backlit, English (US)
- Case Color: Mineral Grey
- Surface Treatment: Anodizing Sandblasting
- Case Material: Aluminum (Top), Aluminum (Bottom)
- Pen: ThinkBook Yoga® Integrated Smart Pen
- Dimensions (WxDxH): 320 x 216 x 16.9 mm (12.60 x 8.62 x 0.67 inches)
- Weight: 1.5 kg (3.3 lbs)
- Operating System: Windows® 10 Pro 64, English
- Ethernet: None
- WLAN + Bluetooth®: 11ax, 2×2 + BT5.1
- Standard Ports: 1x USB 3.2 Gen 1, 1x USB 3.2 Gen 1 (Always On), USB-C 3.2 Gen 2 (support data transfer, Power Delivery 3.0 and DisplayPort™ 1.4), Thunderbolt™ 4 / USB4™ 40Gbps (support data transfer, Power Delivery 3.0 and DisplayPort 1.4), HDMI® 1.4, microSD card reader, Headphone / microphone combo jack (3.5mm)
- Security Chip: Discrete TPM 2.0
In detail:
ThinkBook 14s Yoga 20WE001FUS.pdf (local copy 2021.12.27)
ThinkBook 14s Yoga 20WE001FUS – PSREF page (Lenovo.com)
Operating system and initial setup:
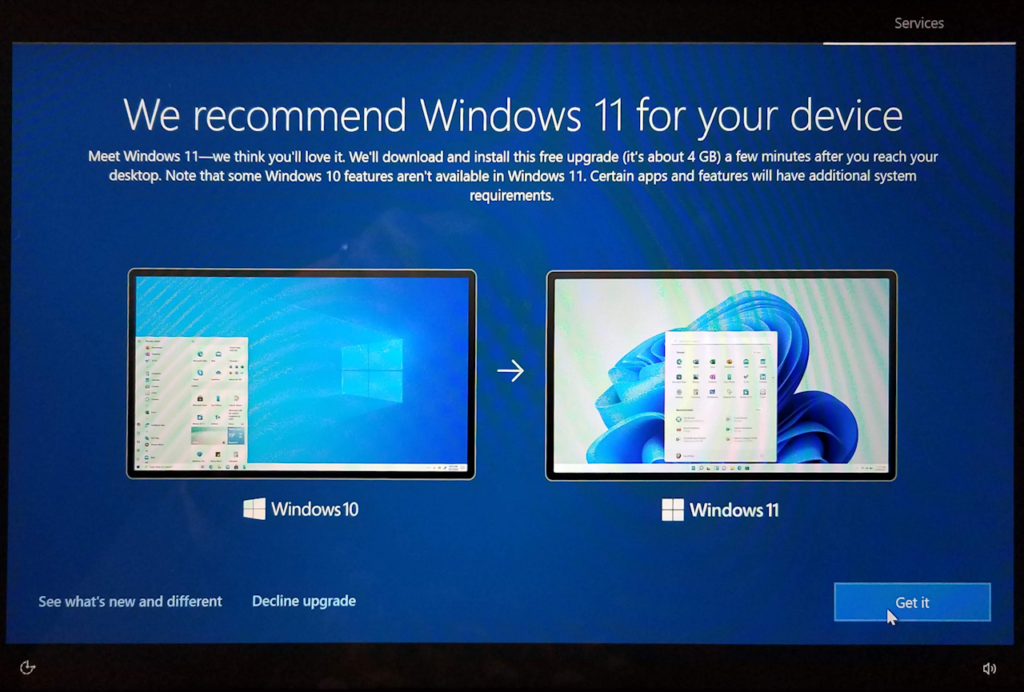
The machine shipped with Windows 10 Pro. Windows 11 was offered during OOBE (out of box experience) and I accepted the offer. It starts chugging away on the download in the background, and once Windows 10 is up and running it asks to update to ’11.
I would normally have made local recovery media for Windows 10, but since the Lenovo Win 10 image was available I downloaded that instead. Lenovo Digital Download Recovery Service (DDRS) – Lenovo Community Once Win 11 was fully up – and updated – I made recovery media from that using the standard tool available in Windows 10 & 11 – as I have with other laptops: ThinkPad P1 Gen 2: a Beauty AND a Beast -> Initial Setup -> Locally created media.
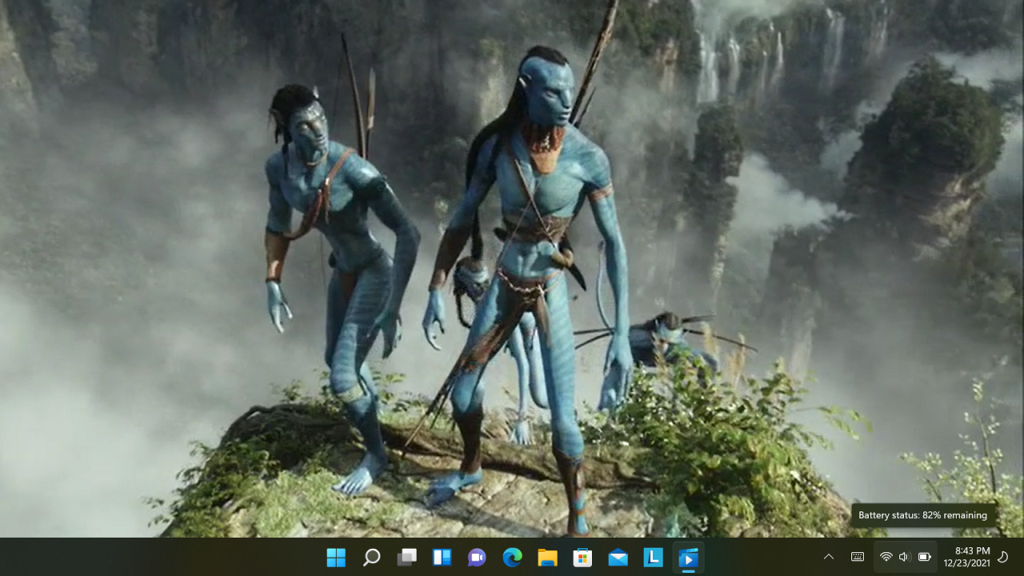
Even though Windows 11 is shipping on new kit, it still seems it’s a work in progress. Some things are missing… or lost in the ozone somewhere… An example is hibernation. It’s still possible to enable hibernation as an option in the shutdown menu, and it works. What’s missing is the time setting that used to be available with sleep in the advanced settings.
Similarly on my X1 Yoga Gen 6 it’s the same story along with the Human Presence Detection (HPD) settings. They are still there in Commercial Vantage, but are not honored. The search bar takes one to the Windows 11 sleep settings and suggests that’s where the controls are… but they aren’t there.
My WAG is that this is all part of MS deciding that all these sorts of controls should be gathered in settings. OK, Fine… but how about actually putting them there after removing them from their traditional locations? </soapbox>
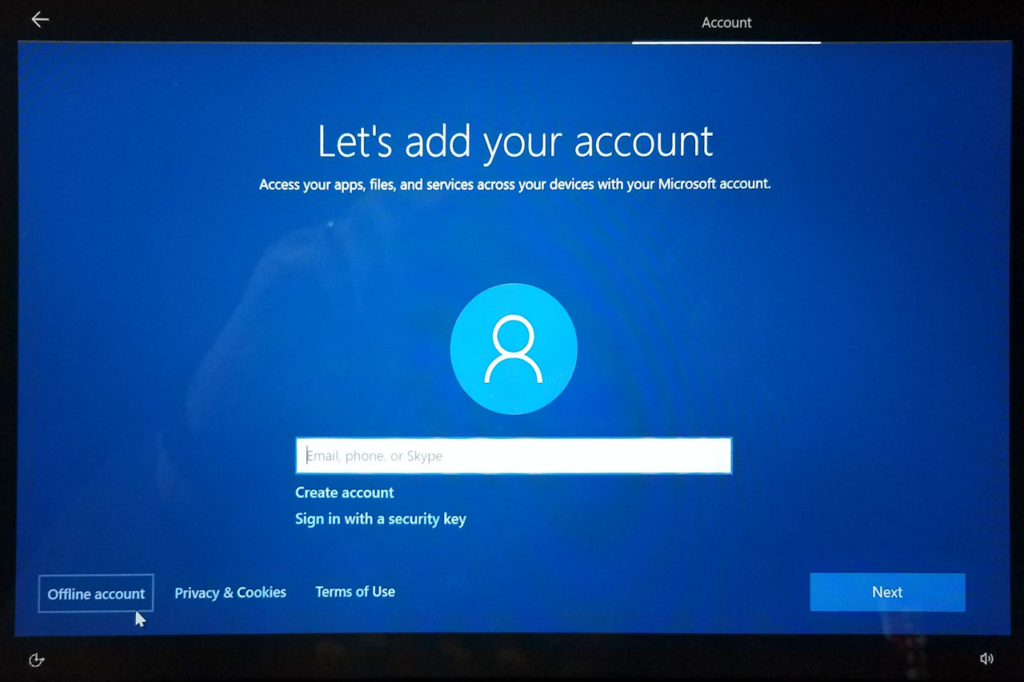
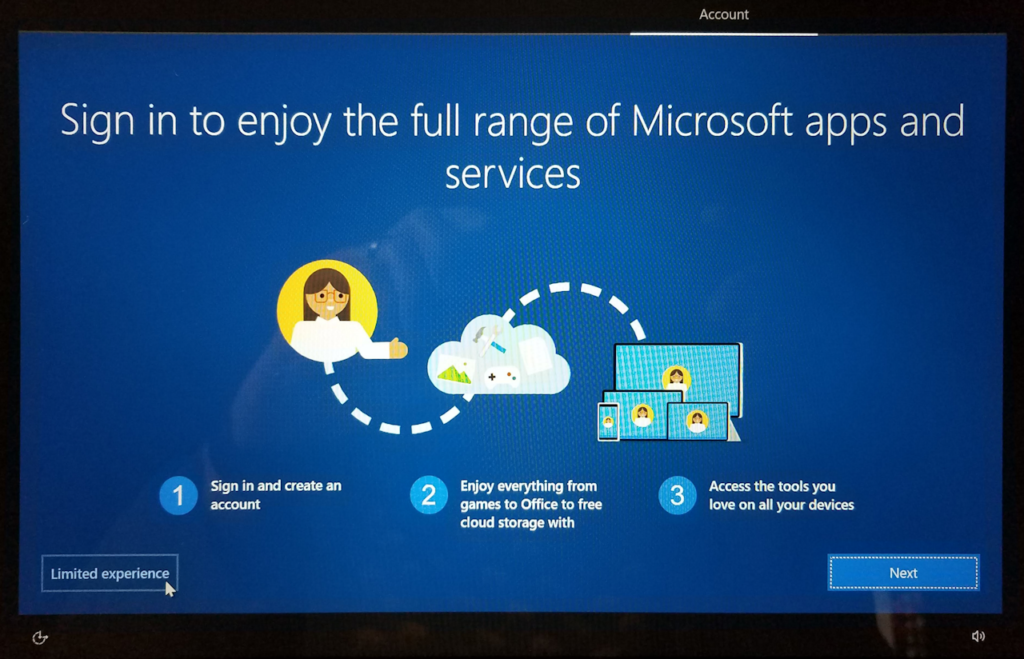
A couple of other things that distress me – in both ’10 and ’11 – the incessant push to use an MS account as a login, and Bitlocker. I recognize the advantages of both for convenience and security but that’s not the way I prefer to set up my laptops.
MS bangs away at trying to force an MS login. At least with the Pro versions there’s a way to avoid that, although it’s often hidden in the fine print.
So sign me up for “Offline Account” and “Limited Experience”.
One of the things about an MS login that can cause some serious problems is that if a machine is capable of using Bitlocker, signing in that way will activate it. The process should offer the key and store it in one’s MS account, but that too often gets missed by users. All is fine until later when they need to provide the key for forensics or recovery, or to simply access their drive after an update of OS or BIOS or some random event.
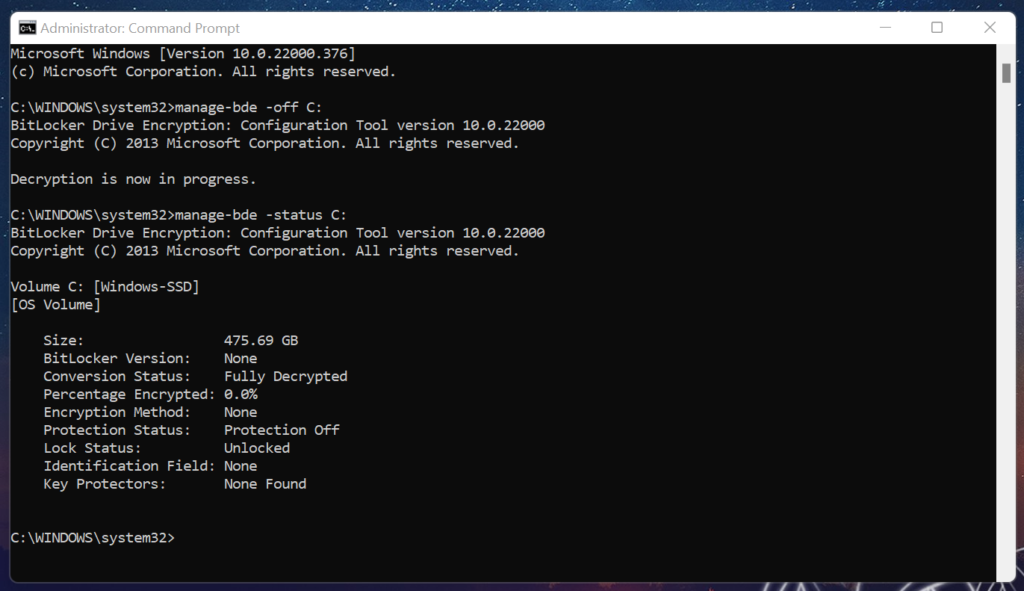
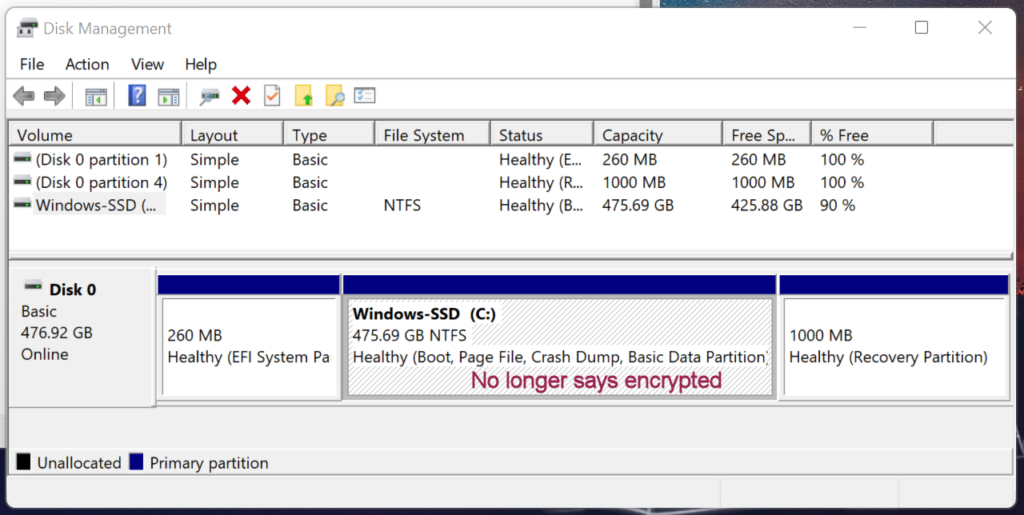
Even if Bitlocker isn’t fully activated the as-installed encryption will prevent other OSen like Linux from accessing the drive. That’s a major problem if one is trying to salvage data, or simply setting up a dual-boot situation as I usually do. Some of my machines provided a button in the Bitlocker management console (Control Panel -> System and -> Security -> BitLocker Drive Encryption or “bitlocker” in the search box) but some didn’t, even though the console was there. I use a command line process to fully disable it. In a CMD window run as Administrator:
Major components and performance:
Note: The performance tests and device information below were gathered while running Windows 11.
BIOS:
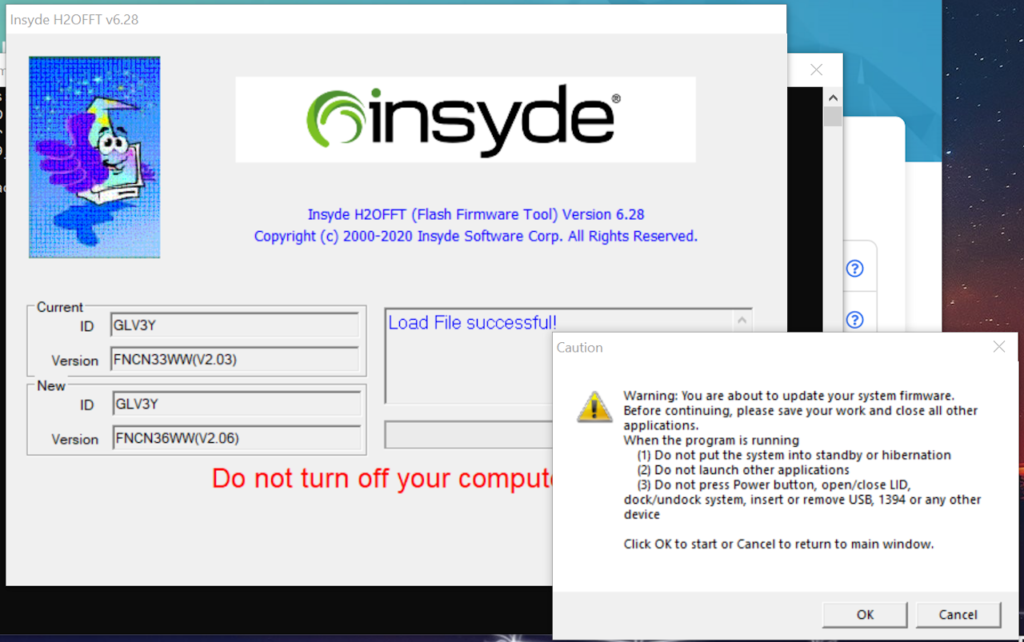
The “hidden” component. This ThinkBook uses an insyde BIOS, not the Phoenix BIOS I’m used to in my ThinkPads. It does have a GUI BIOS setup program that looks very similar to the one in my recent ThinkPads, and it appears to have the “self healing” feature.
Navigating the BIOS setup GUI is inconsistent. Scrolling via touchpad, for instance, sometimes works, sometimes doesn’t. For now (hopefully this will be fixed) it may be necessary to use both touchpad and keyboard.
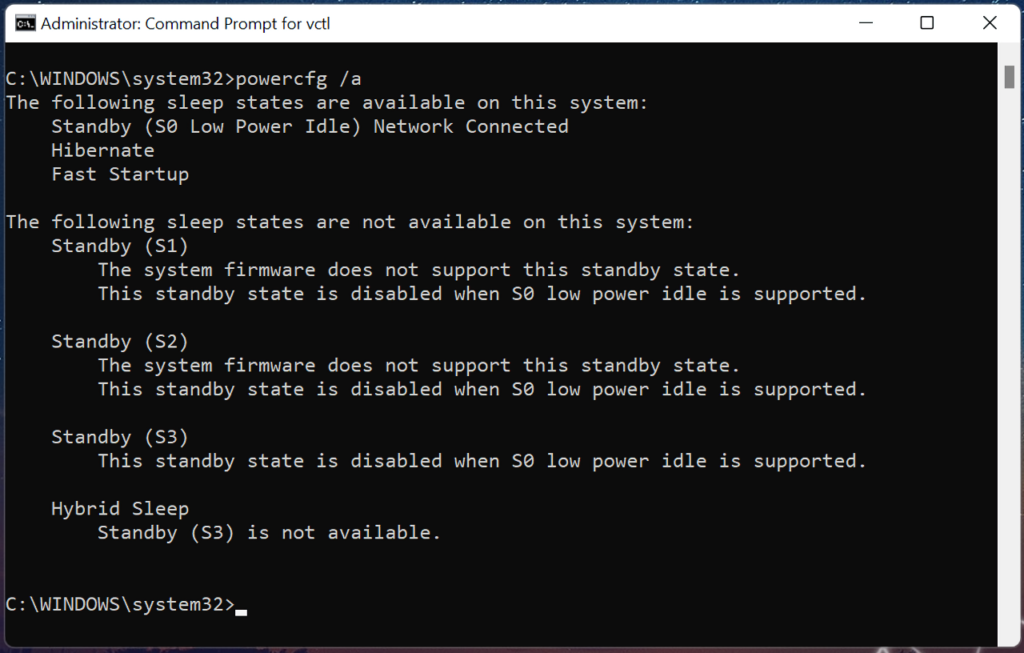
The BIOS is “Modern Standby” only (S0ix sleep) and does does not have an option to toggle modes to old-school S3 sleep.
NOTE: the BIOS is also missing a legacy boot mode option. It is UEFI only. Legacy mode has been deprecated: Legacy BIOS Boot Support Removed in Lenovo 2020 products.
SSD:
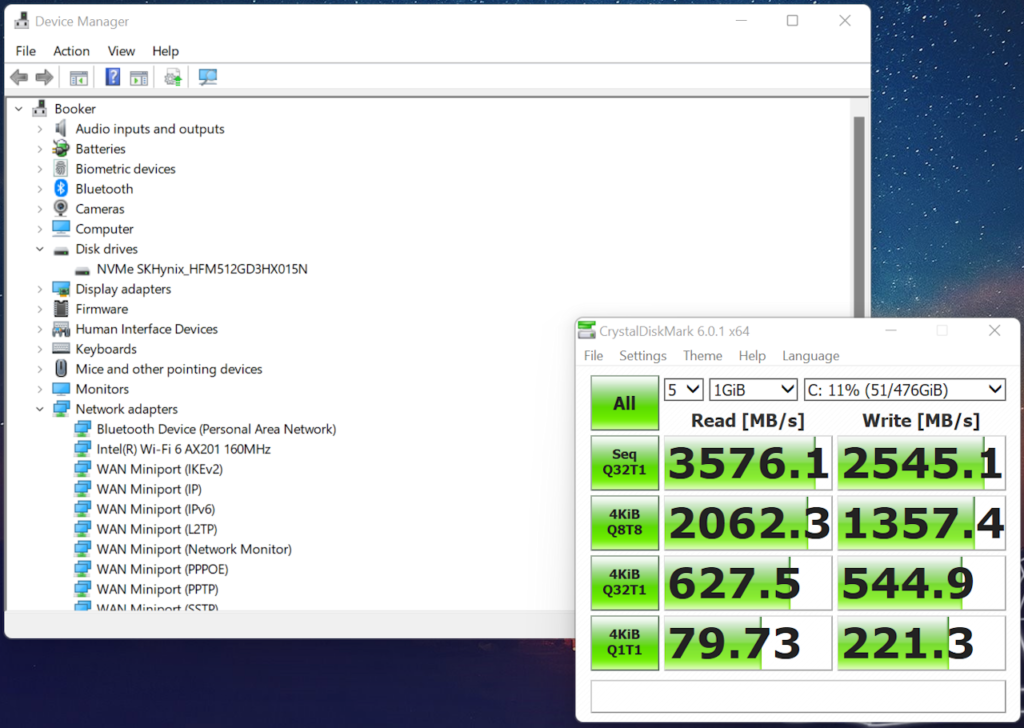
The SSD slot supports PCIe/NVMe Gen 3 x4 and not the newer Gen 4. The installed SSD takes nearly full advantage of Gen 3 performance.
Wifi:
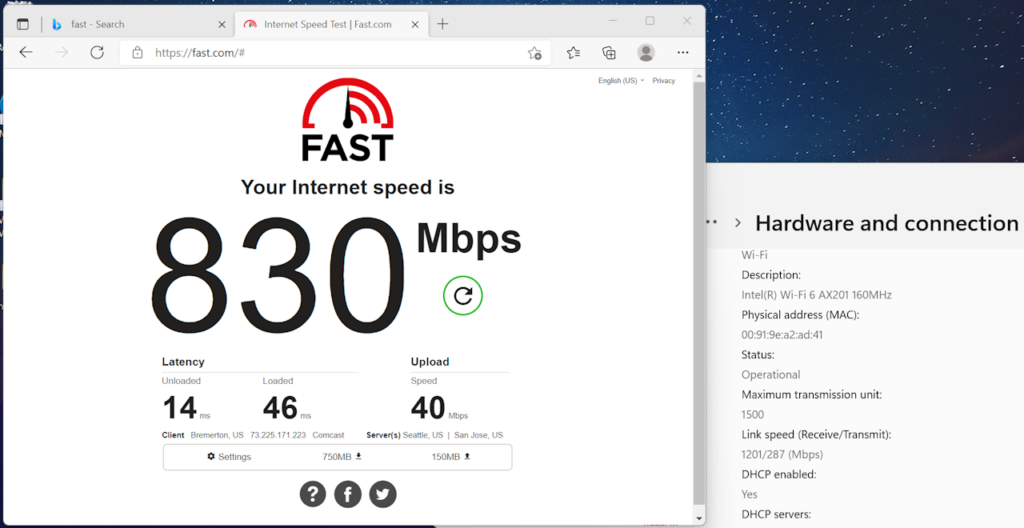
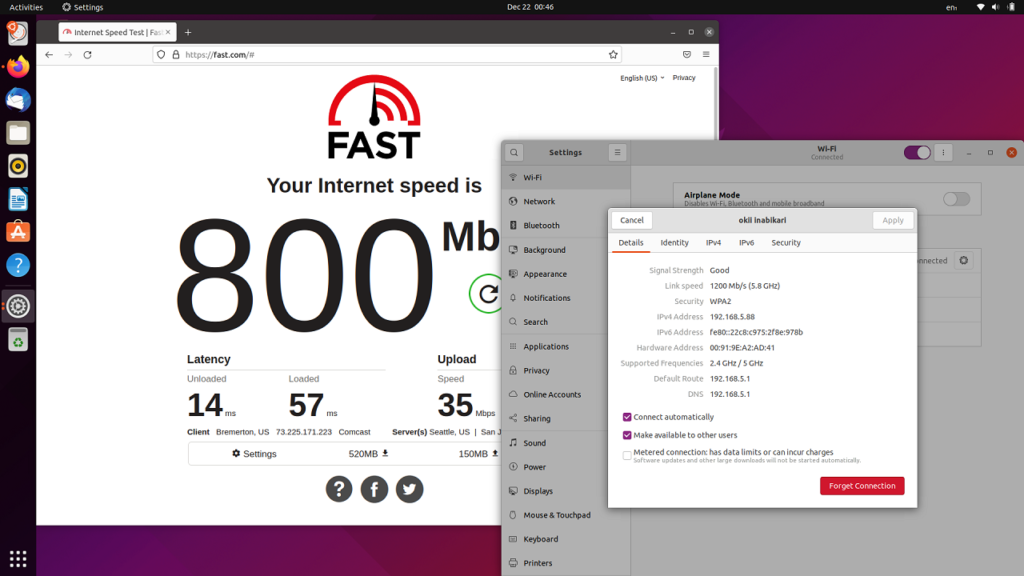
This ThinkBook doesn’t have an Ethernet port, although an inexpensive USB-C or USB-2.0/3.0 dongle could be used to provide one if needed. The AX wifi card performs very well, and nearly saturates my Gigabit cable connection.
Virtualization:
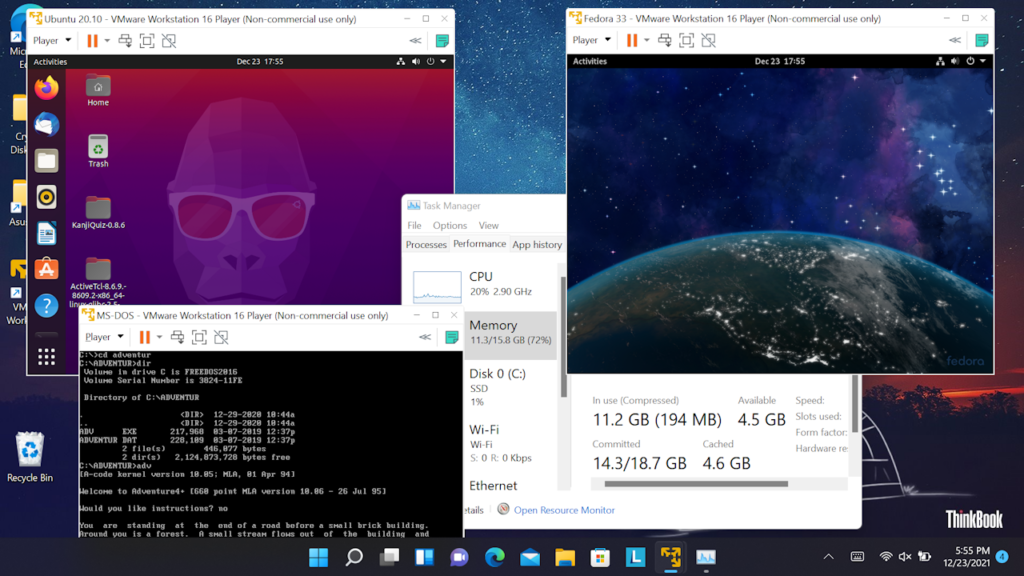
The ‘Book has plenty of RAM for virtual machines (although more would always be welcome) and the i5 can handle the load (although an i7 would be my choice if this was a purchased machine). BIOS was already configured for virtualization so all I had to do was install VMware Workstation Player (free) and copy a few existing VMs over for testing.
Battery runtime (not “life”):
Windows 11 no longer provides a “time remaining” estimate with the battery icon in the tool bar. It wasn’t super accurate but it provided a very simple metric that for my ThinkPads seemed to be fairly close to the truth.
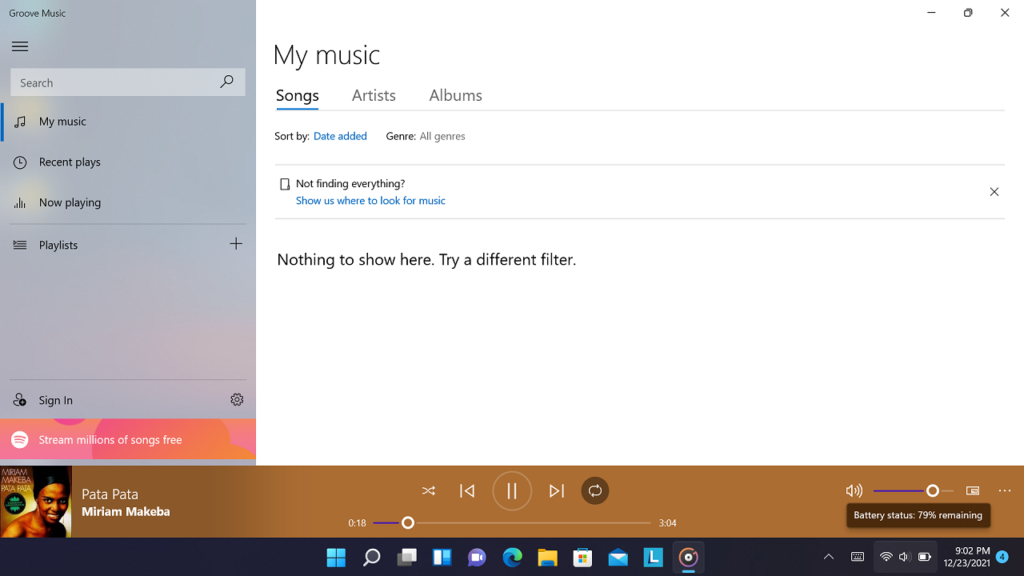
My admittedly simple runtime test consisted of running the appropriate software for 30 minutes or longer and noting the battery charge percentage drop reported. All were at approximately half screen brightness, and one third volume.
Just sitting idle at the screen wallpaper or a quiet Edge browser the drop was about 2% per hour. So forever… The media streaming tests were via wifi from a Windows host and gave roughly 15 hour runtime for MP3, and 12 hours for MP4. I’d expect that with much else going on the results would be considerably lower, but I’d call this a 10hr+ battery.
Linux – live:
Something I always do with a new machine is boot one or more live Linux distros to take a quick look at what works – and what doesn’t. It’s a very good indication of how a particular distro will work when installed (see below) and verifies that if I (or anyone…) needs to boot same for forensics or recovery it can be expected to function.
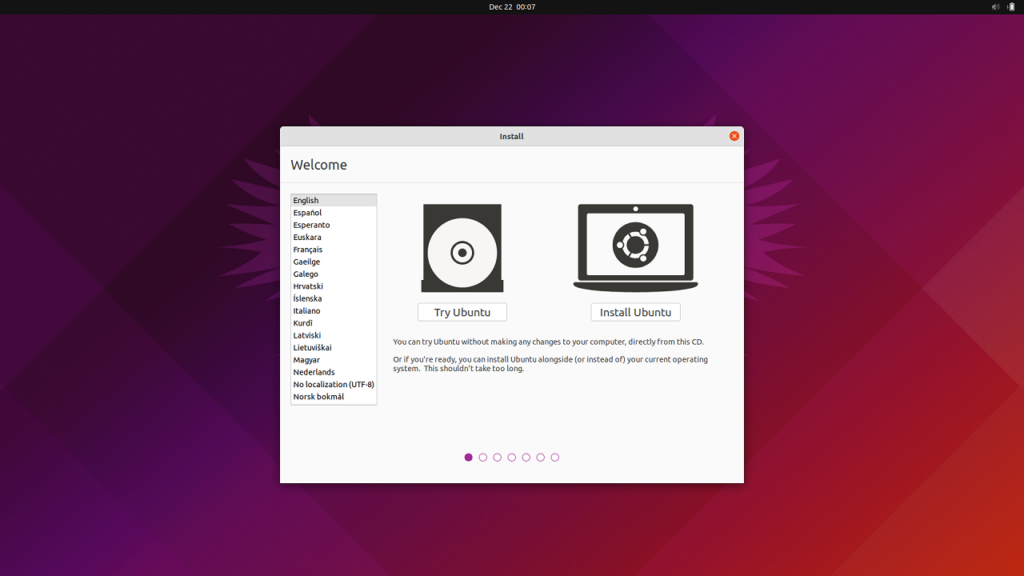
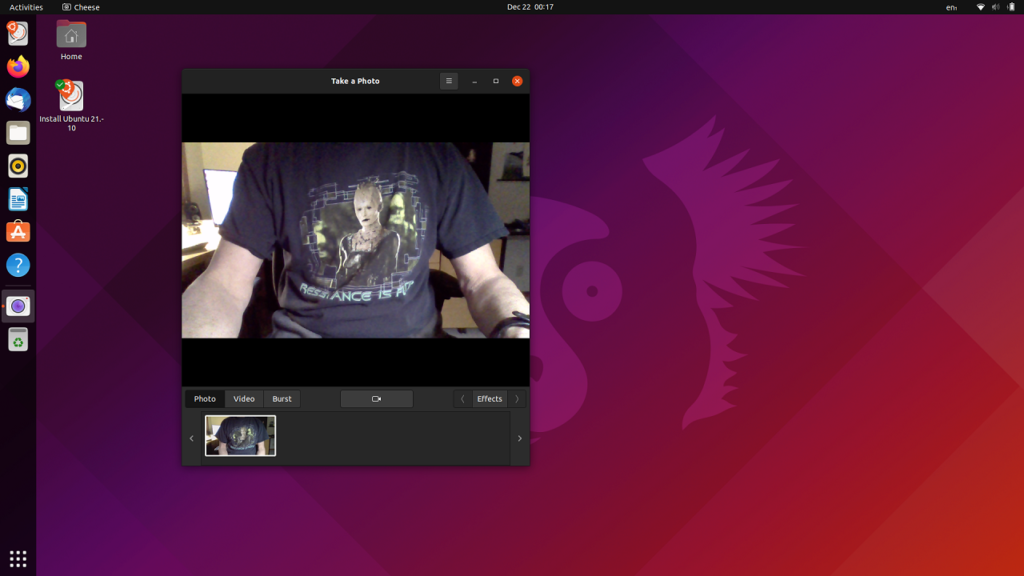
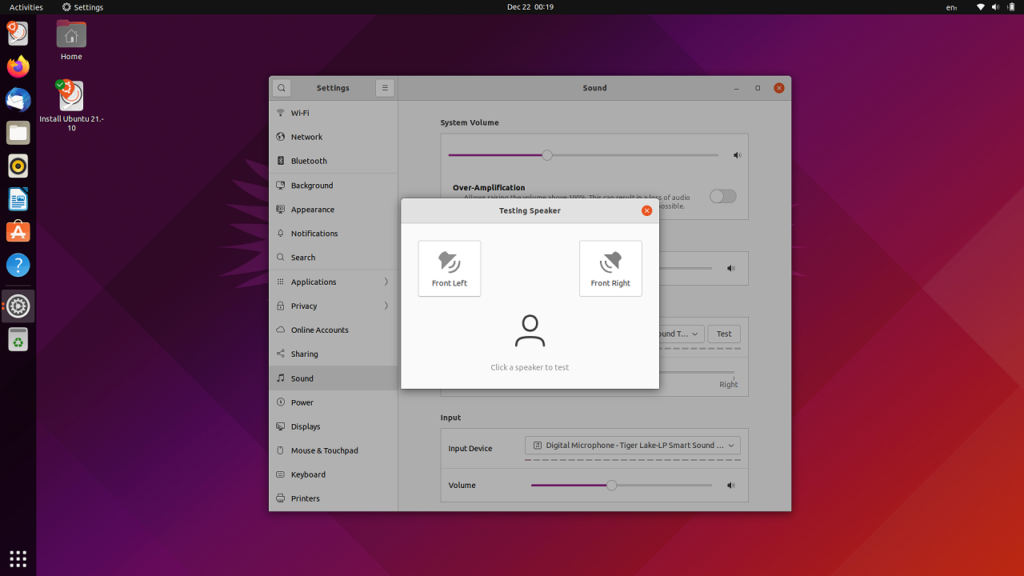
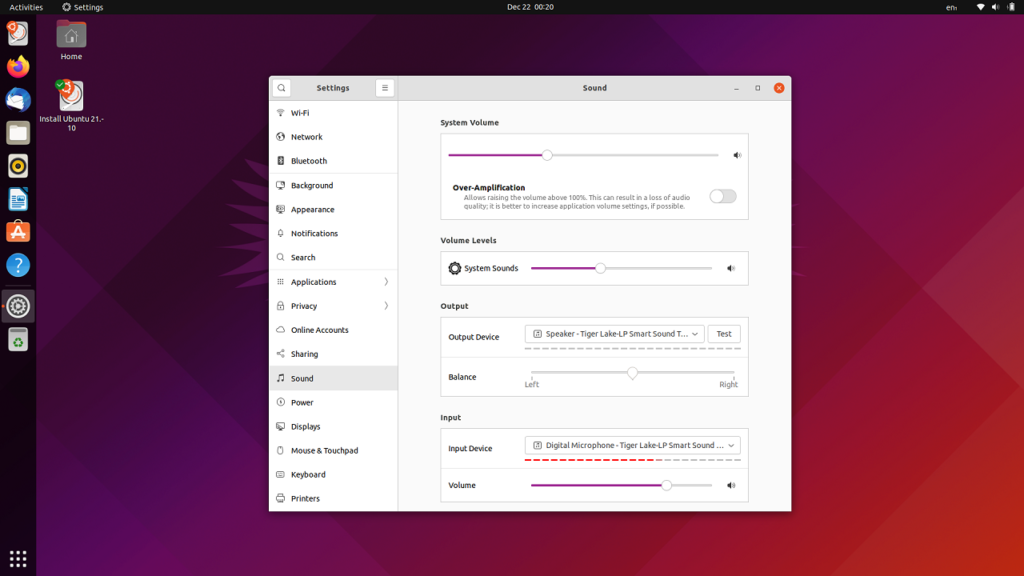
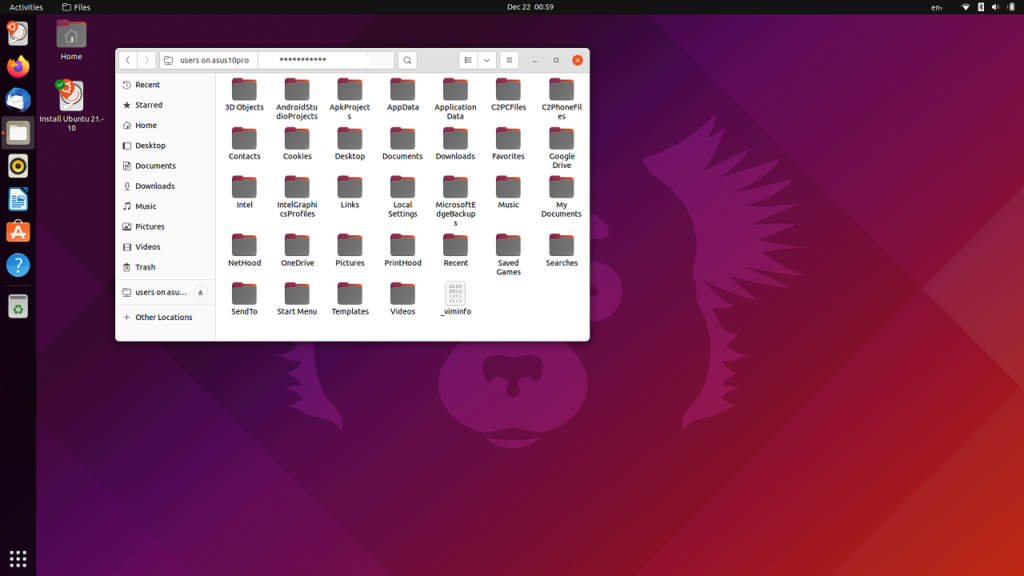
I went through my usual quick shakedown with Ubuntu 21.10, and everything I tried seemed to work well. Also took a quick look with Fedora 34 and while it generally worked a few things didn’t. They are noted below.
It wasn’t necessary to change any BIOS settings to boot either distro. Both will boot in secure mode. The Ubuntu flash media was created my usual way: extract the contents of the ISO and drop them on a FAT32 flash drive. The Fedora media was built using their tool. They use their own partitioning and formatting which makes it a little difficult to build media manually. It can be done – I’ve done it – but it may not be worth the fuss.
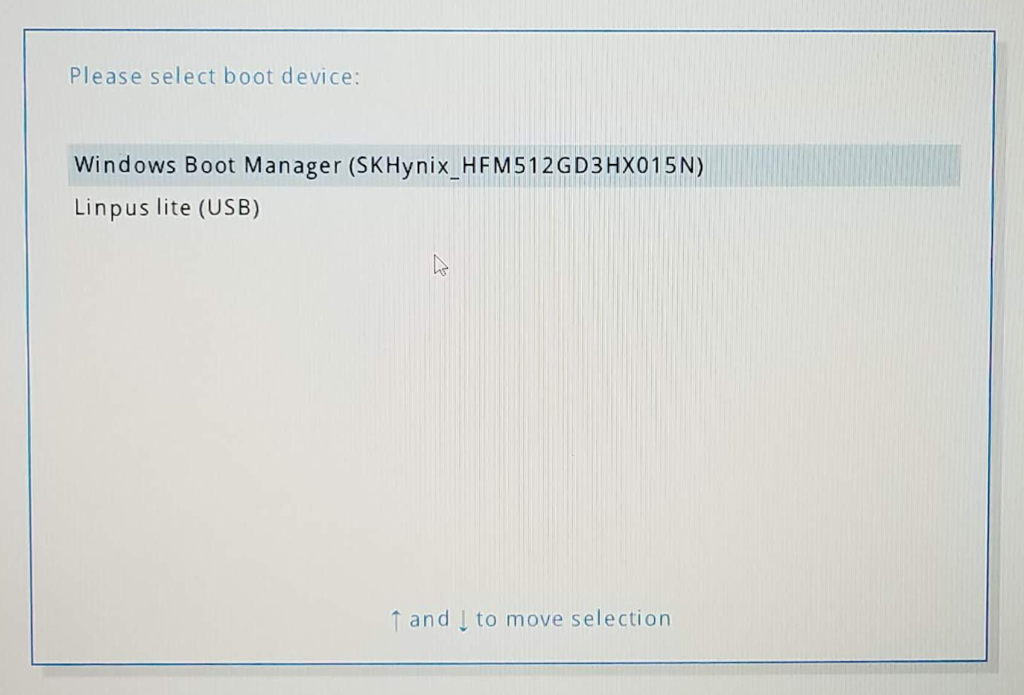
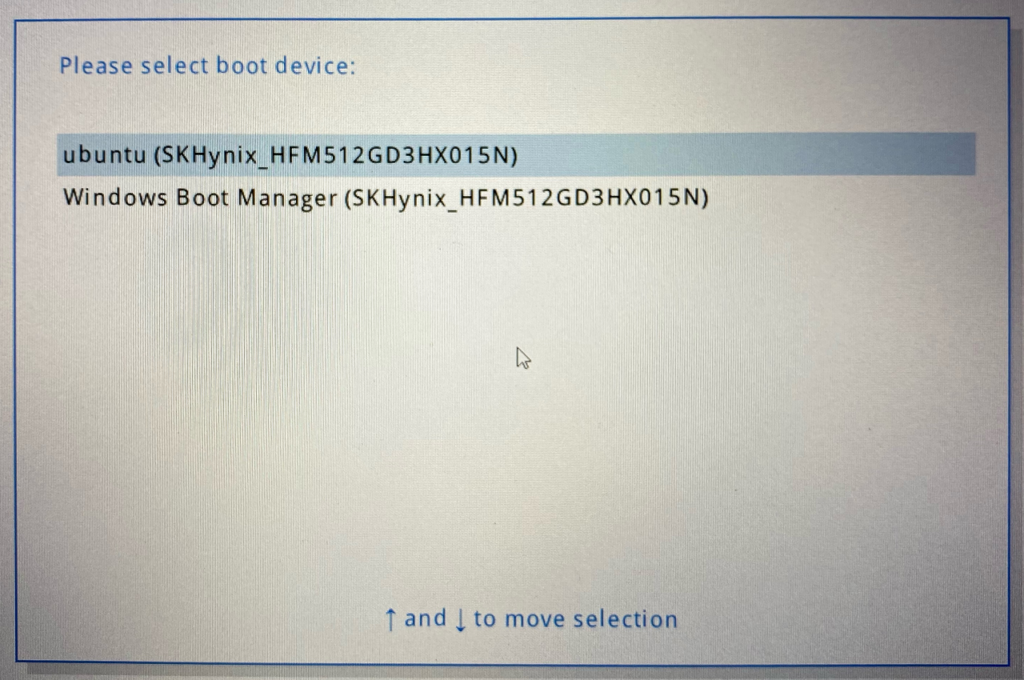
To boot USB media, hit F12 on startup or restart and select the drive from the boot menu. NOTE: if Windows Fast Startup is enabled (it is by default) startup is more like resume from hibernation and it will be necessary to first shut down with SHIFT+Shutdown to get a full shutdown so the next startup will recognize F12 (or any other boot option key) but a restart should always permit using those keys.
Odd that the BIOS recognizes Ubuntu as Linpus. That seems to be common for many machines and BIOSen.
Also verified that dedicated keys – volume and brightness, shared with function keys – work.
With Ubuntu 21.10 booted, all the “touch” stuff worked as expected: touchscreen, touchpad, and tablet mode. With Fedora 34 one thing I noticed is that “tap to click” did not work on the touchpad. Press to click did.
NOTE: the above after Bitlocker disabled in Windows 11.
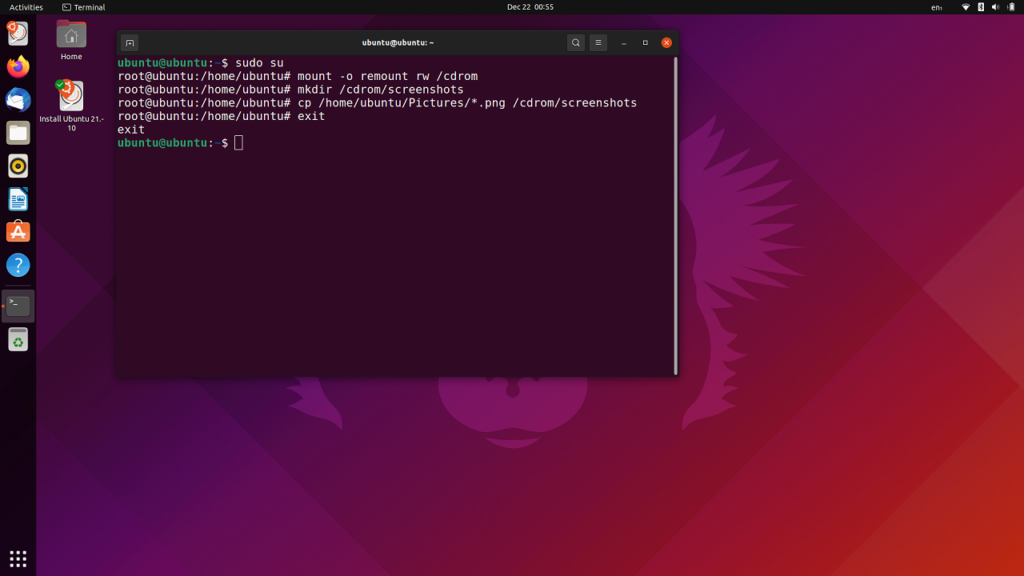
A note about how the screenshots were saved: when booted from a live USB flash drive the media is treated as if it’s a CDROM – it isn’t writable. That can be changed via the command line.
Linux – installed:
The final exercise was an actual install of Ubuntu 21.10. Wow, what a difference from the old days. In this new age of GPT drives and UEFI BIOS it’s nothing like the bad old days. That and the sophistication of modern Linux installers make it simple and easy.
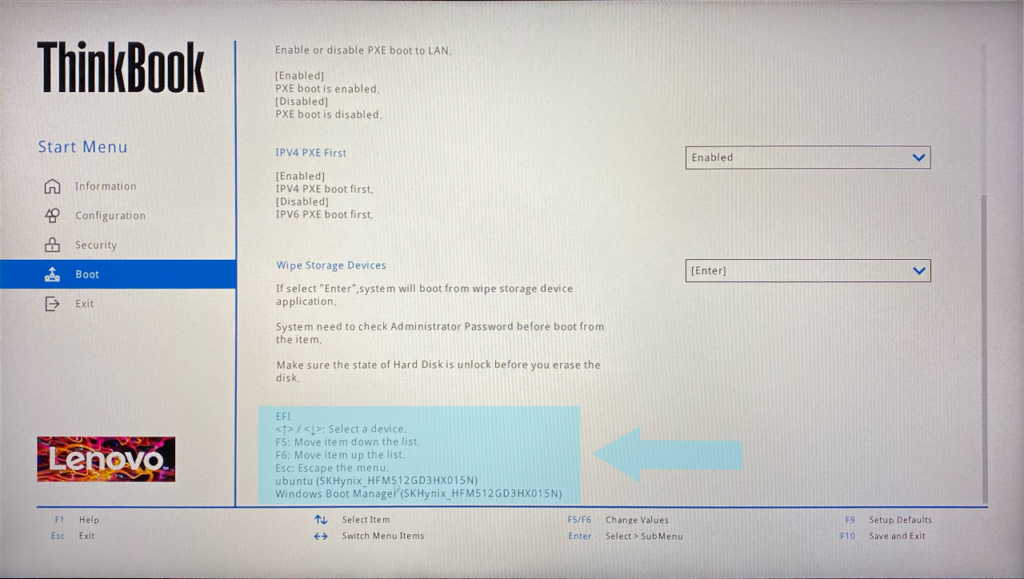
This went almost exactly as described in How to Dual Boot Ubuntu and Windows – the Picture Book Edition so I won’t go over it again here. The only difference I noticed was due to the insyde BIOS. The location of and procedure for changing boot order is a bit different. Access BIOS setup via F1 at boot or restart, then access the boot order “fine print” as shown below. Note – again – that if Fast startup is still on in Windows (you should have turned it off by now if you’re doing a dual boot install) you need to either do a restart or SHIFT+shutdown then startup in order to access BIOS.
Ubuntu will put itself first in the boot order. That can be changed.
Bonus Mouse:
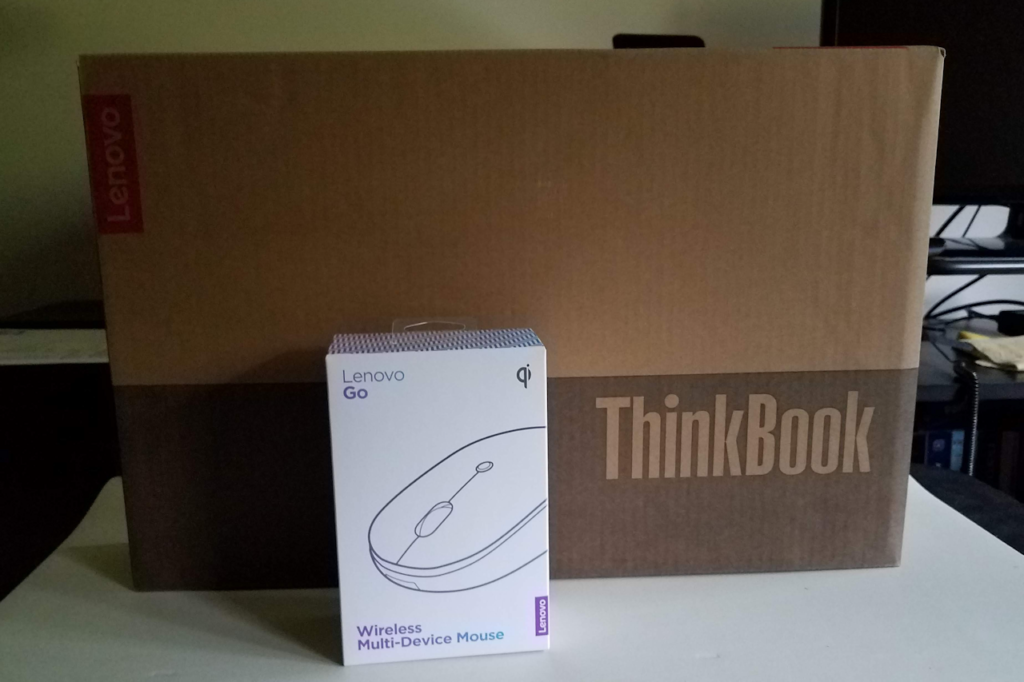
The ThinkBook wasn’t the only thing in the box when it arrived. No, this isn’t an included option, it was a pure bonus. The timing was perfect since my go-to Bluetooth mouse gave up the ghost during ‘Book testing.
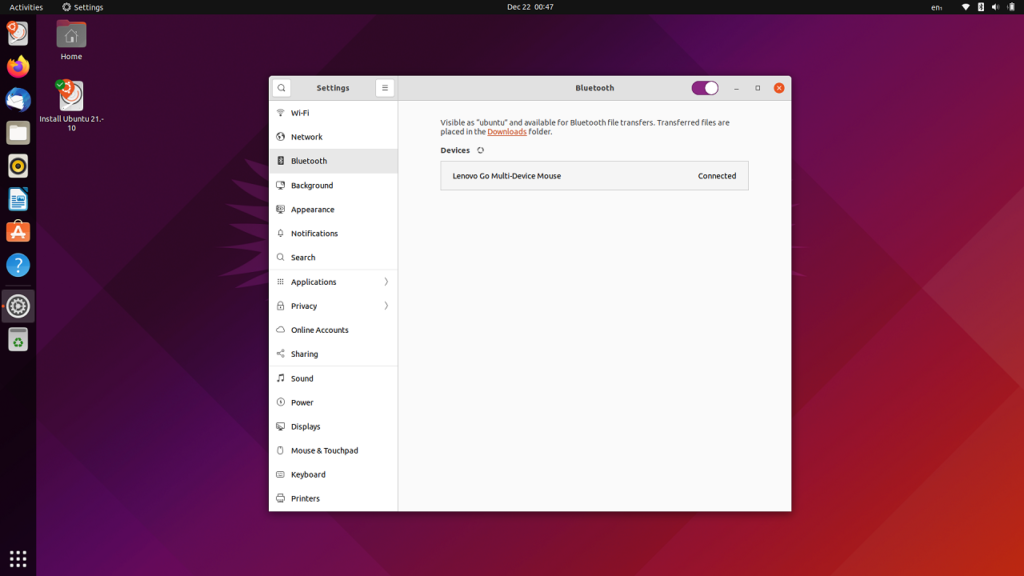
The Lenovo Go Wireless Multi-device Mouse is a small wonder. Two Bluetooth IDs and an included RF dongle – with the ability to use a mouse button to select which is active – allows pairing with three different host devices and switching from one to the other with ease. Very handy. It will charge via USB-C cable (provided) or wirelessly (charger not provided – I’ve charged it with my “brand S” phone charger.) And it’s inexpensive. What a nice bit of design and engineering.
Links:
Lenovo Sales: General ThinkBook 14s Yoga
PSREF (specification) Pages: General ThinkBook 14s Yoga
Support: General ThinkBook 14s Yoga User’s Guide Hardware Maintenance Manual
Lenovo Forums: All ThinkBook Linux

