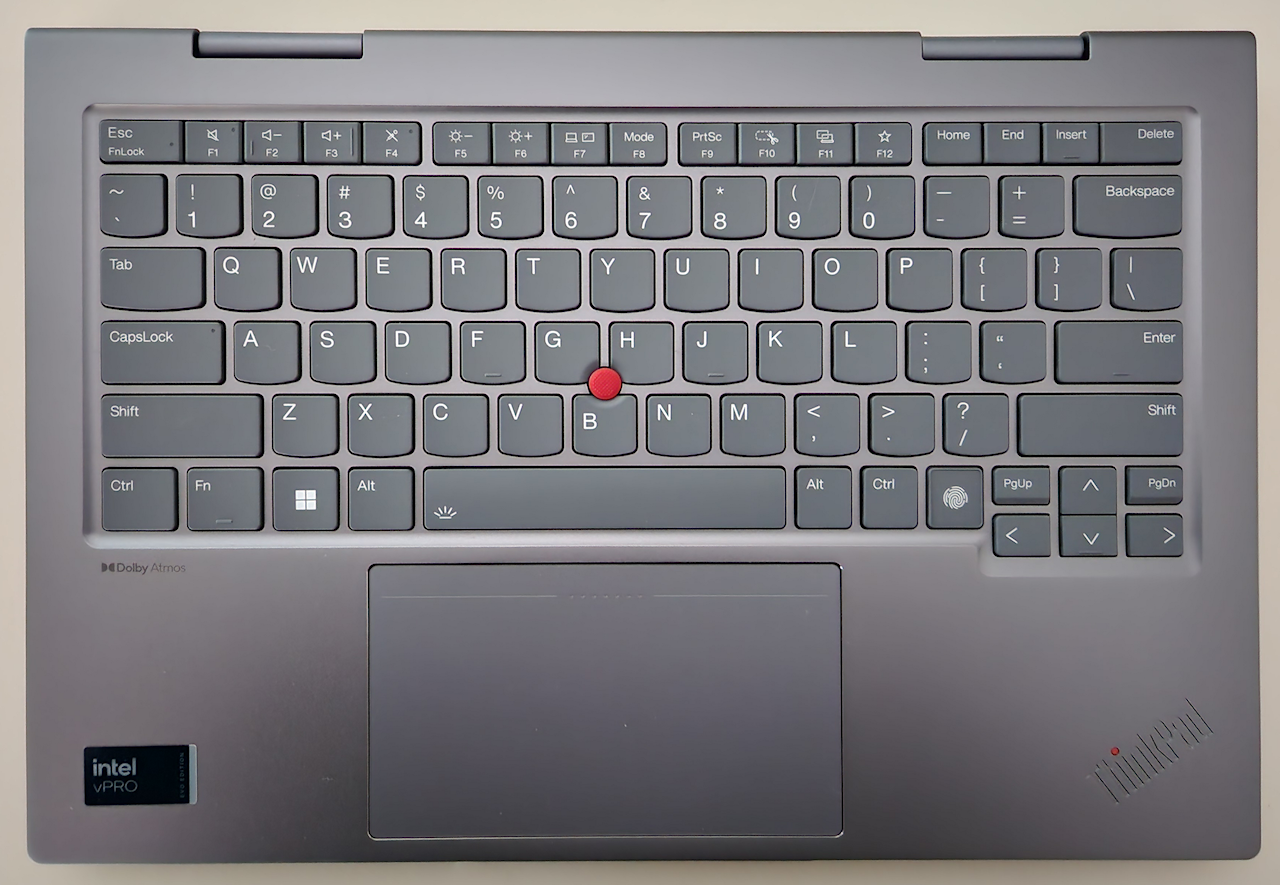
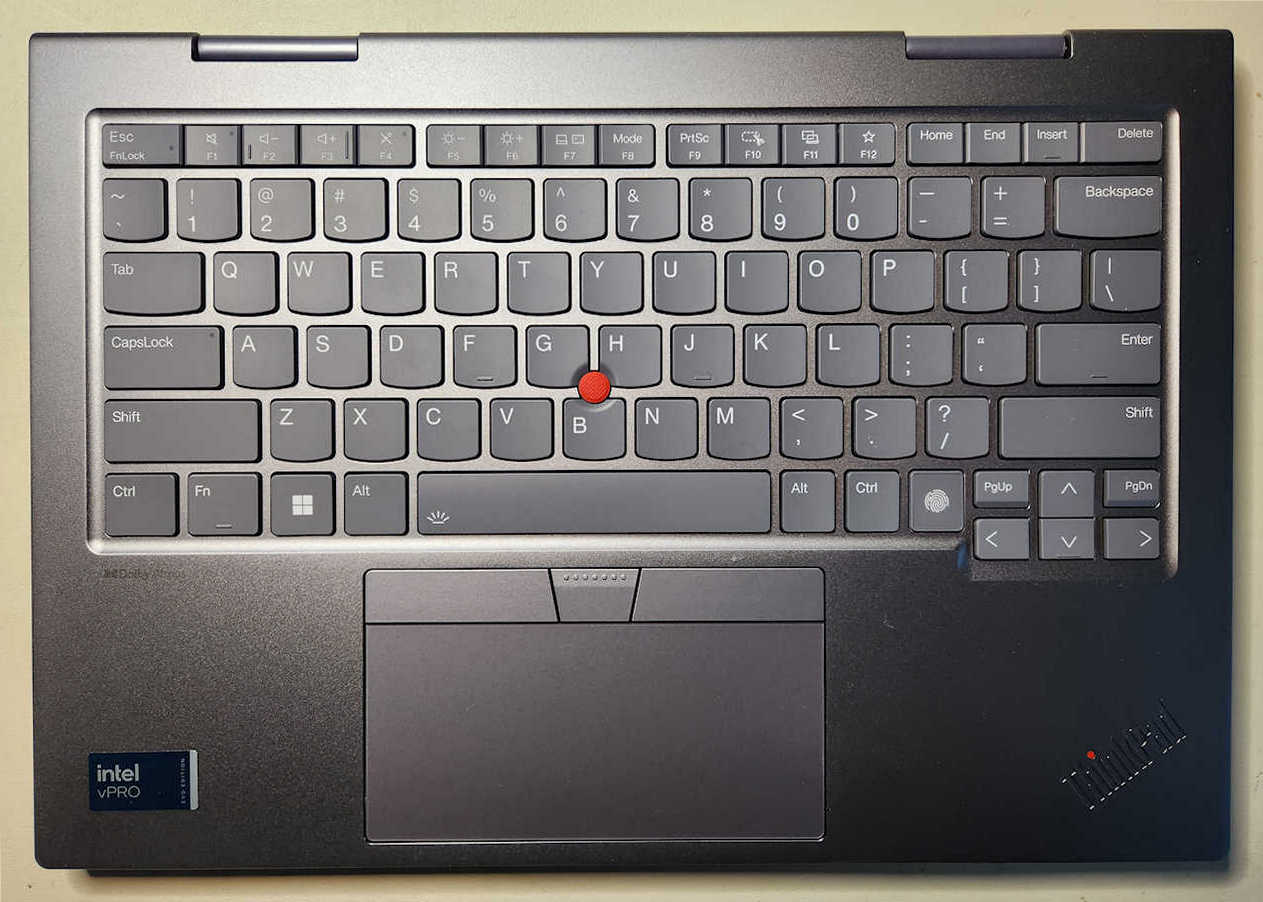
I’ve been using the X1 2-in-1 Gen 9 as my go-to road machine for a while now. One of the interesting things about this machine is its use of a haptic TrackPad – no physical buttons. Virtual buttons supported by some kind of high-tech magic. Very cool… but not for me.
I’m a hard-core TrackPoint user. Often disable the TrackPad since I only use the TrackPoint and the buttons at the top of the TrackPad. This going back to my first ThinkPad – an R40.
I just haven’t been able to adjust to the virtual buttons. Constantly miss left clicks. May be due to hand position, or perhaps just ingrained (finger) muscle memory, or old age… but I just can’t use this thing efficiently.
Not saying others won’t love it. This is purely subjective.
Got to poking around in the parts lists and saw both the haptic and classic (3 button) TrackPad listed for my machine. Lenovo calls them ForcePad and ClickPad, respectively. Decided to take a major risk and attempt a transplant. This worked (or didn’t) for me. No guarantees it will work for anyone else. No guarantees it won’t lead to physical or electrical damage. However this turns out, I’m here to tell you those tiny connectors are terrifying! Here we go…
Working on a grounded ant-stat mat with wrist strap attached.
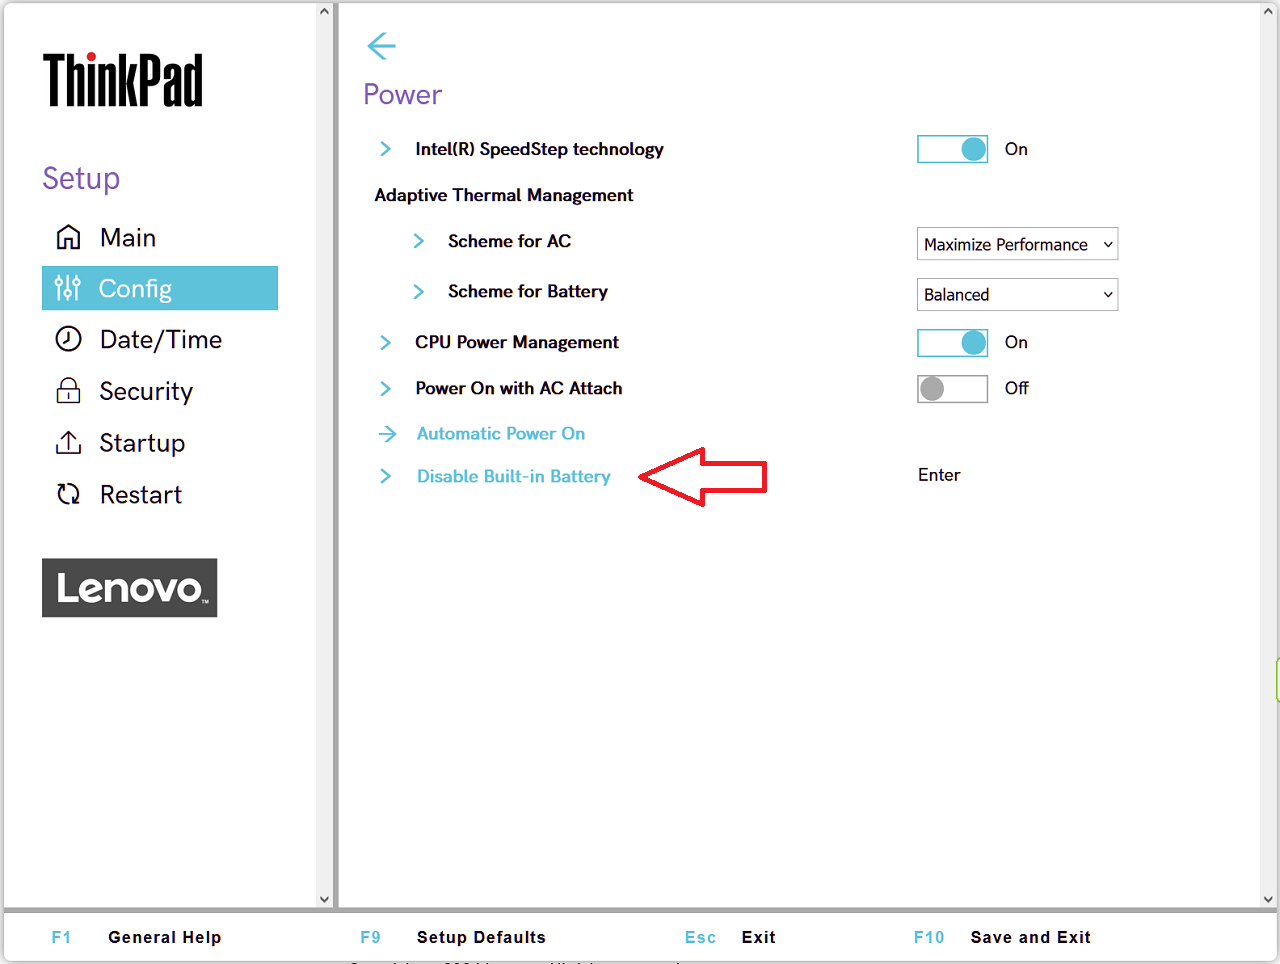
First thing: with AC power disconnected restart and access BIOS. Disable the internal battery.
The Hardware Maintenance Manual and Service Videos were vital resources:
Hardware Maintenance Manual – ThinkPad X1 Carbon Gen 12 and X1 2-in-1 Gen 9
Removal and Replacement Videos – ThinkPad X1 2-in-1 Gen 9 (21KE, 21KF)
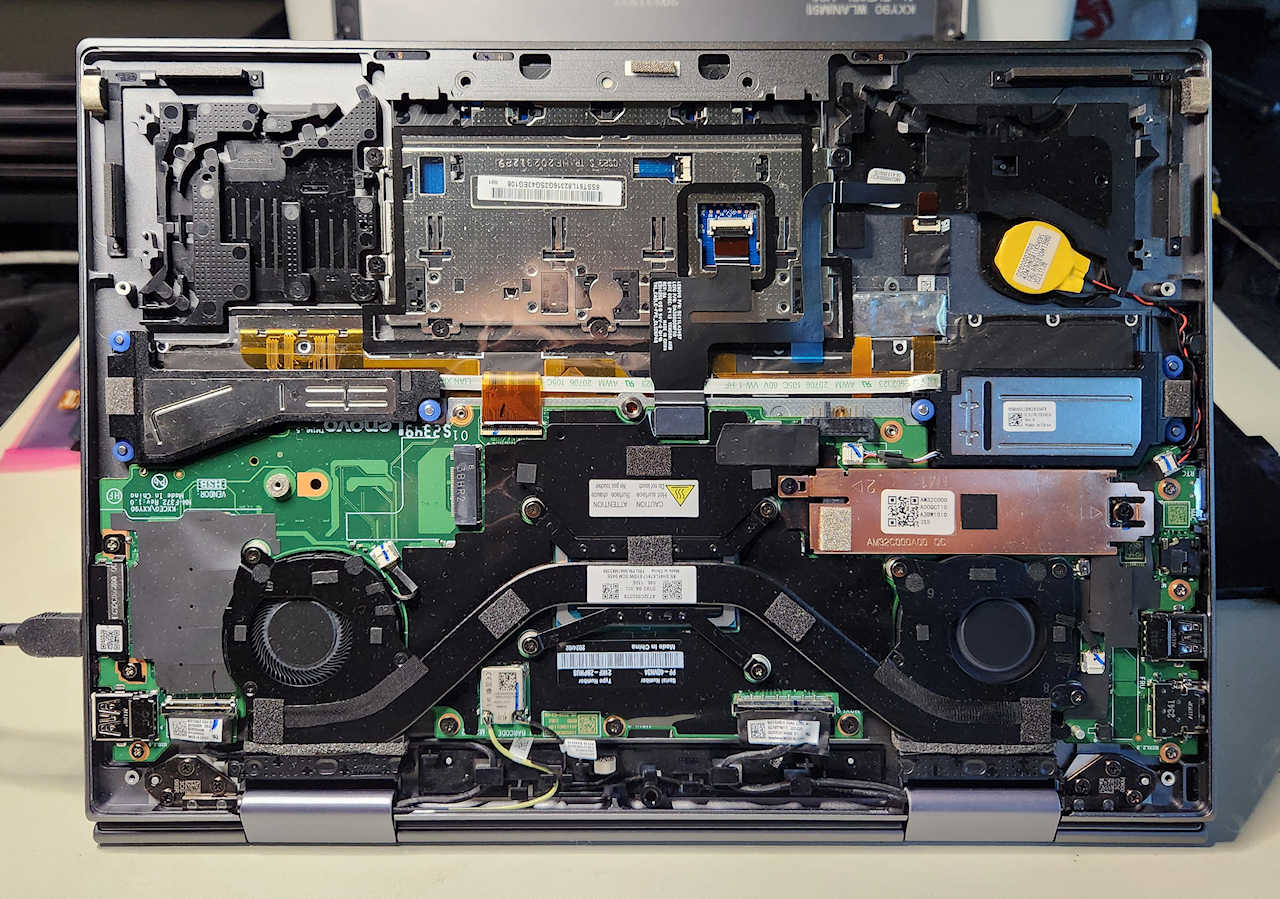
For once got the bottom cover off without breaking anything. Not shown in the HMM: there’s a clip in the middle of the base cover that is a friction fit. Once the screws are removed and the edges of the cover pried up, it releases with a straight pull up, directly away from the laptop.
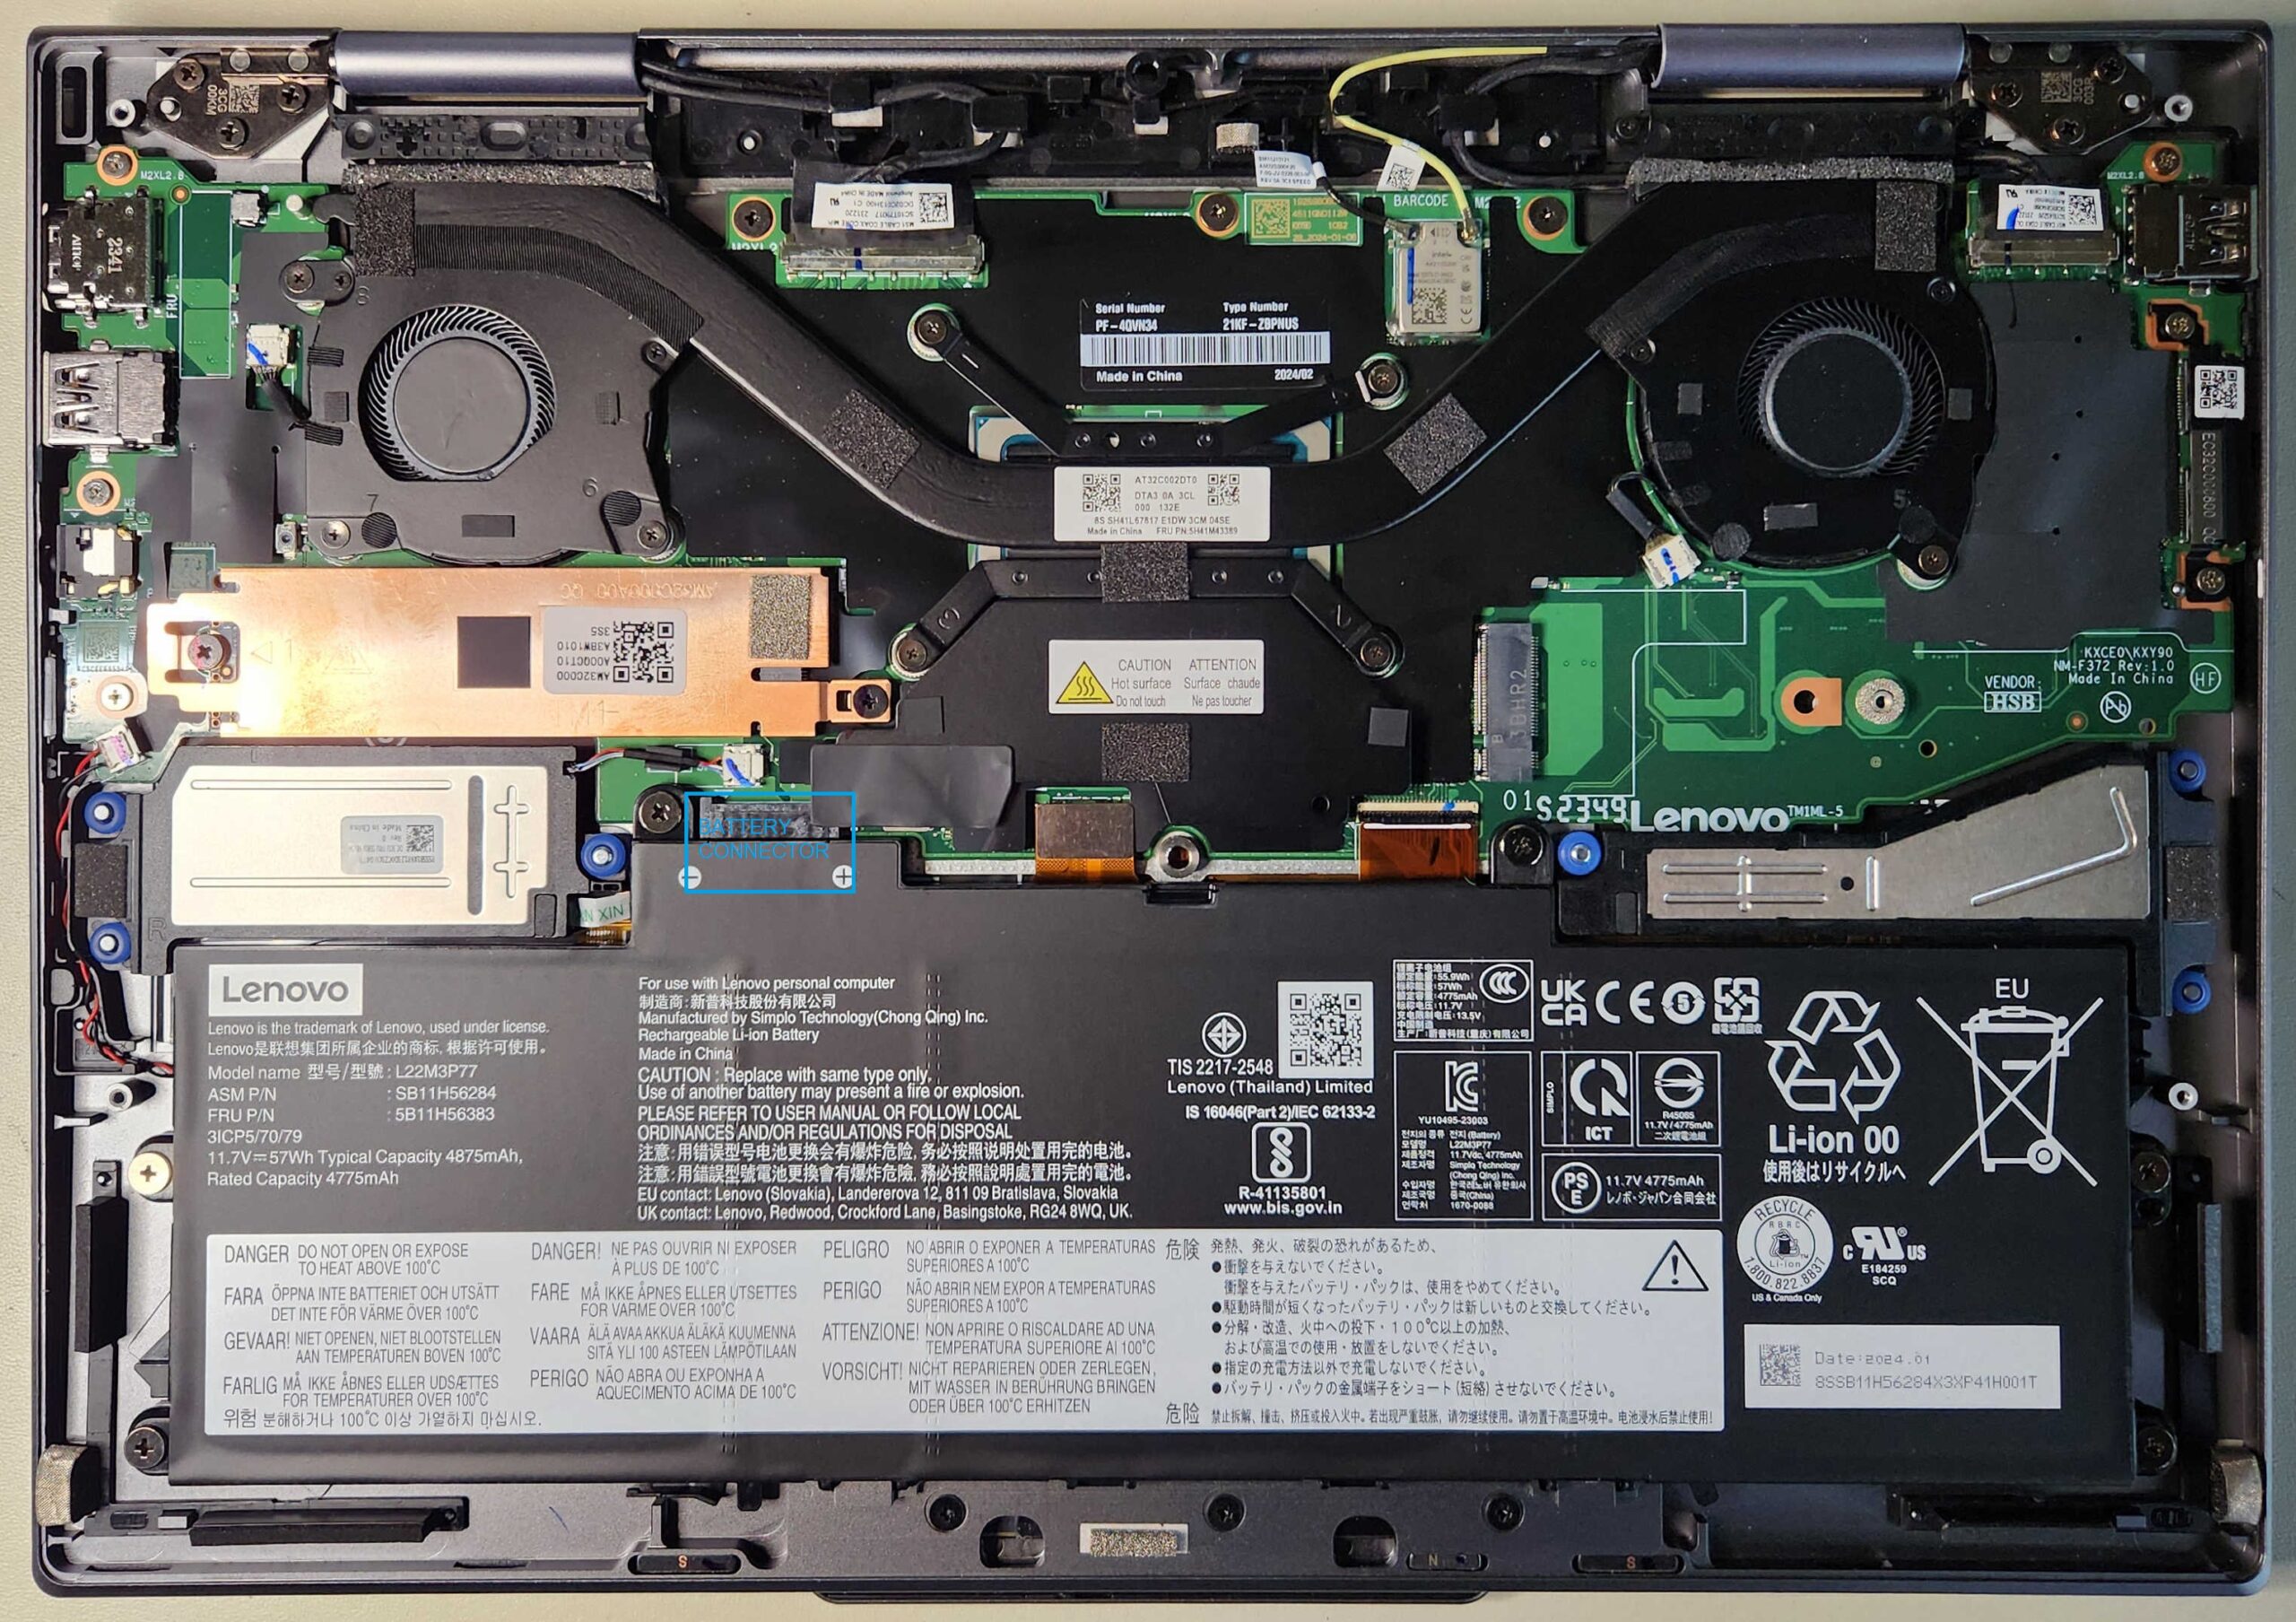
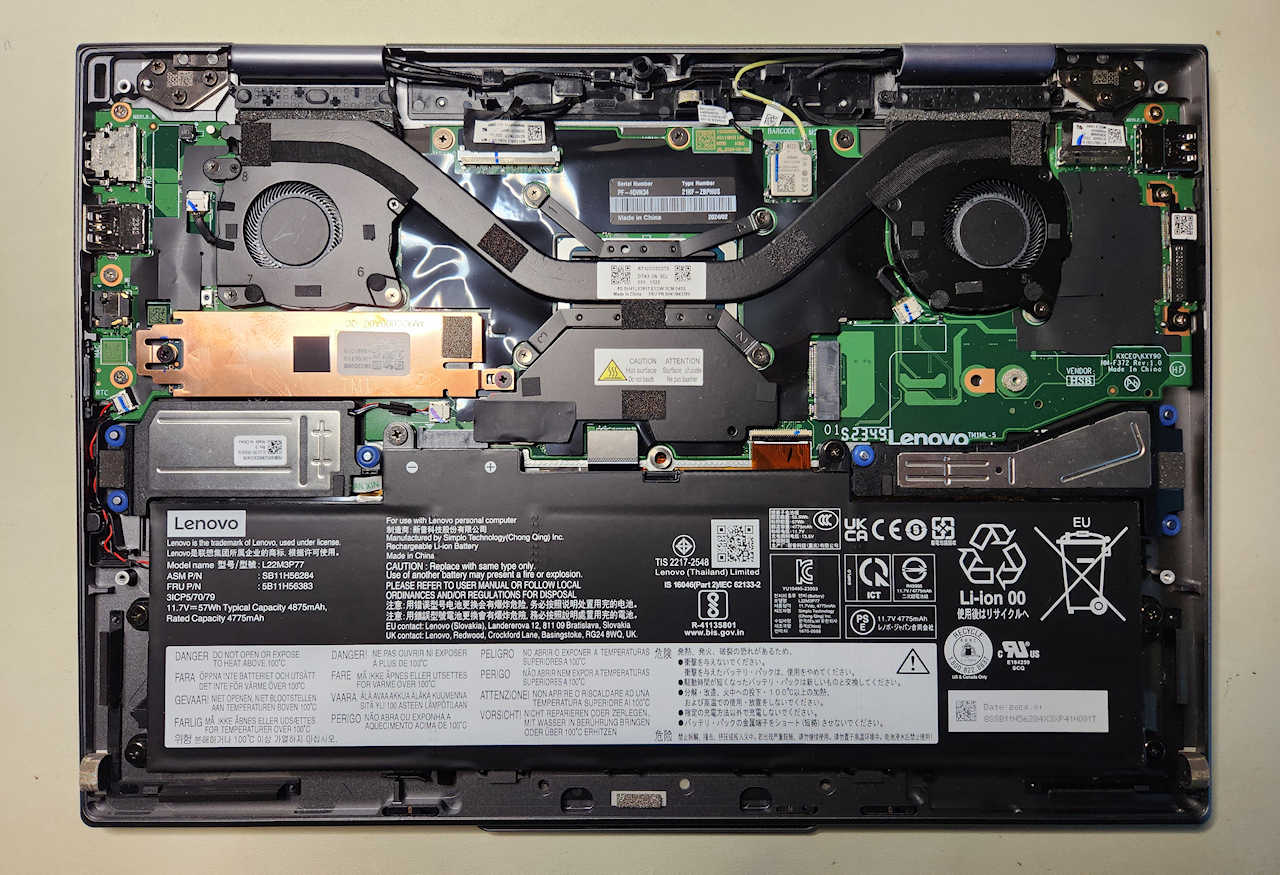
Now to the internals. Remove the battery. Once the screws are removed, the battery pulls straight up from the connector, then tilts out at the bottom.
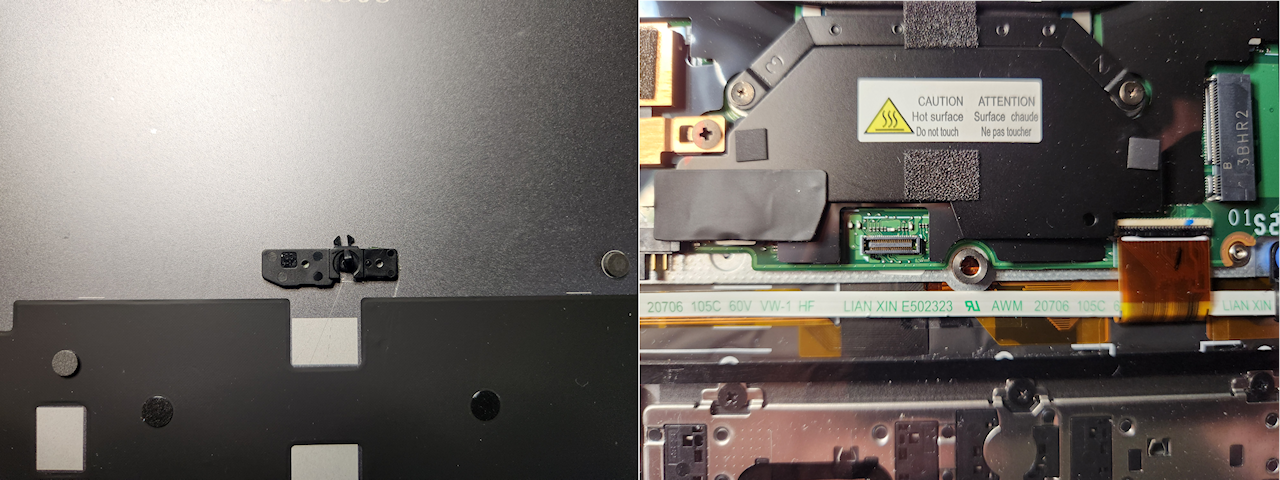
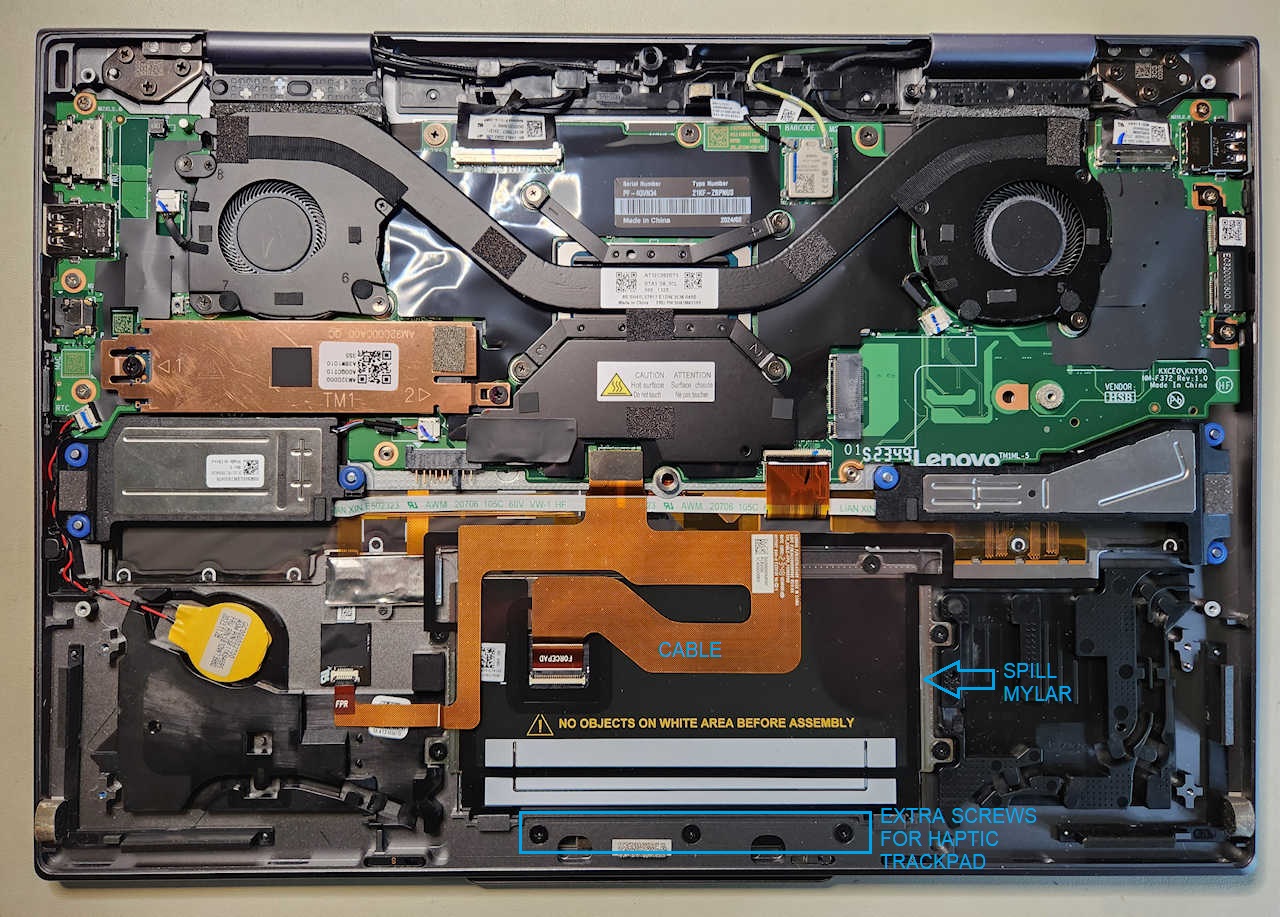
Note that the haptic and “click” ‘pads mount differently. The haptic pad has an extra row of screws not used by the click pad. The cables (as I found out later) are also different. Remove the cable and the spill mylar. Then the 10 screws holding the haptic TrackPad.
Now to put it all back together.
The parts I used. From https://pcsupport.lenovo.com/us/en/products/laptops-and-netbooks/thinkpad-x-series-laptops/thinkpad-x1-2-in-1-gen-9-type-21ke-21kf/21ke/parts/display/compatible
TrackPad: CS23 3+2bCP,GL,GR,NONFC,TRI Part No 5M11G56210
Cable: CABLE-FPC,CLICKPAD Part No 5C11L99747
Note: the cable and TrackPad part numbers will be different if the laptop has other options, NFC and/or WWAN for instance.
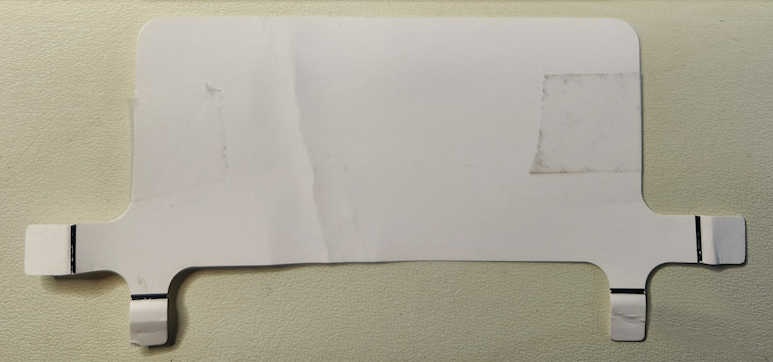
The new ‘pad came with a cardboard jig. The intent is that it goes over the top of the TrackPad with the “ears” wrapped around the sided This to locate the new ‘pad precisely in the hole. I struggled with it for some time. If the ears are wrapped enough to keep it (barely) in place, they bind so much that they couldn’t be pulled out once the new ‘pad was in place. In the end I installed the TrackPad and left the screws loose, poked the jig ears around the edges, and tightened the screws. Seemed to do the job, but there must be a better way.
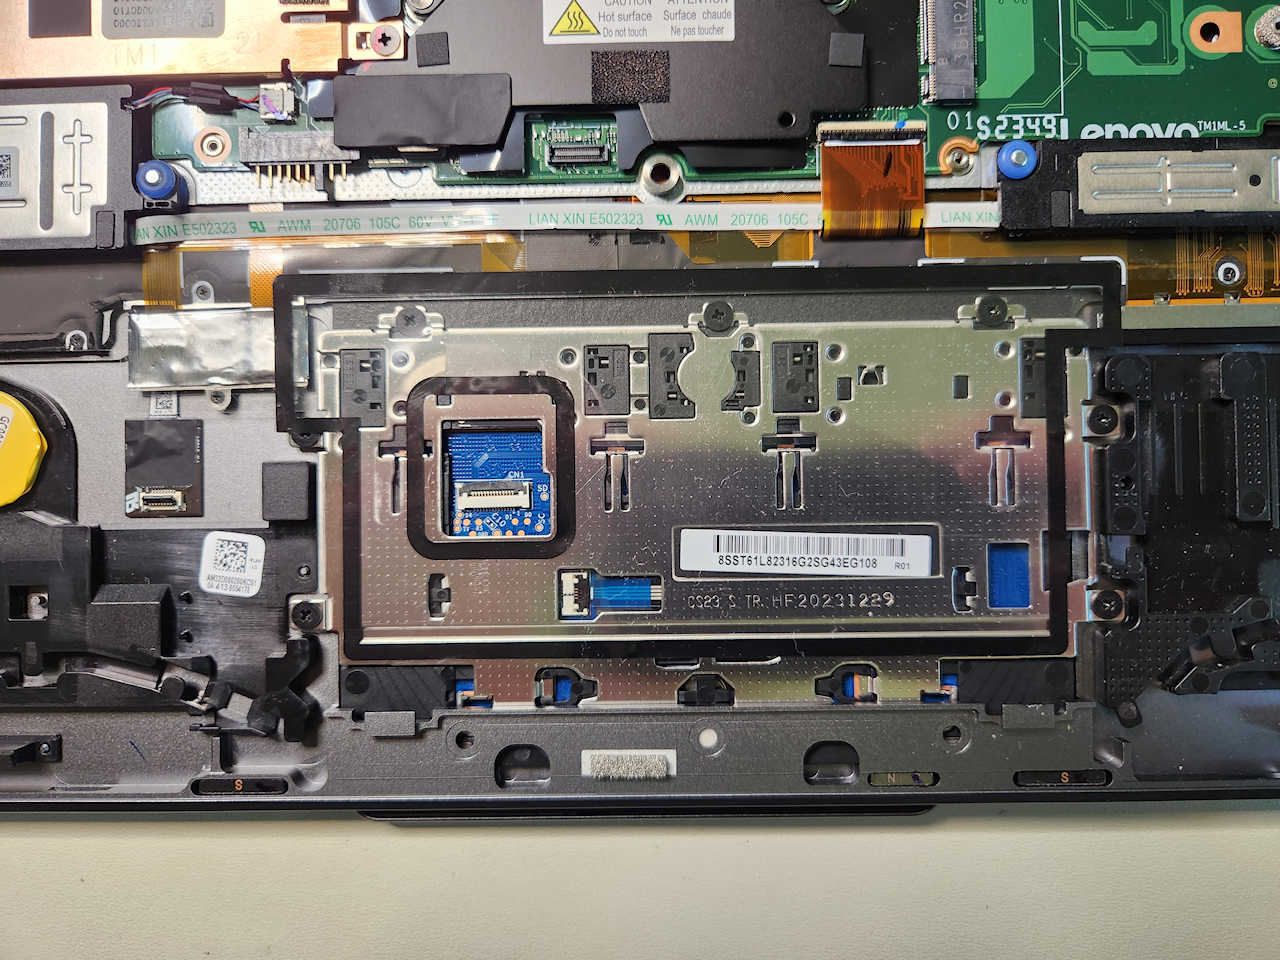
New TrackPad and spill mylar installed. 3 screws unused.
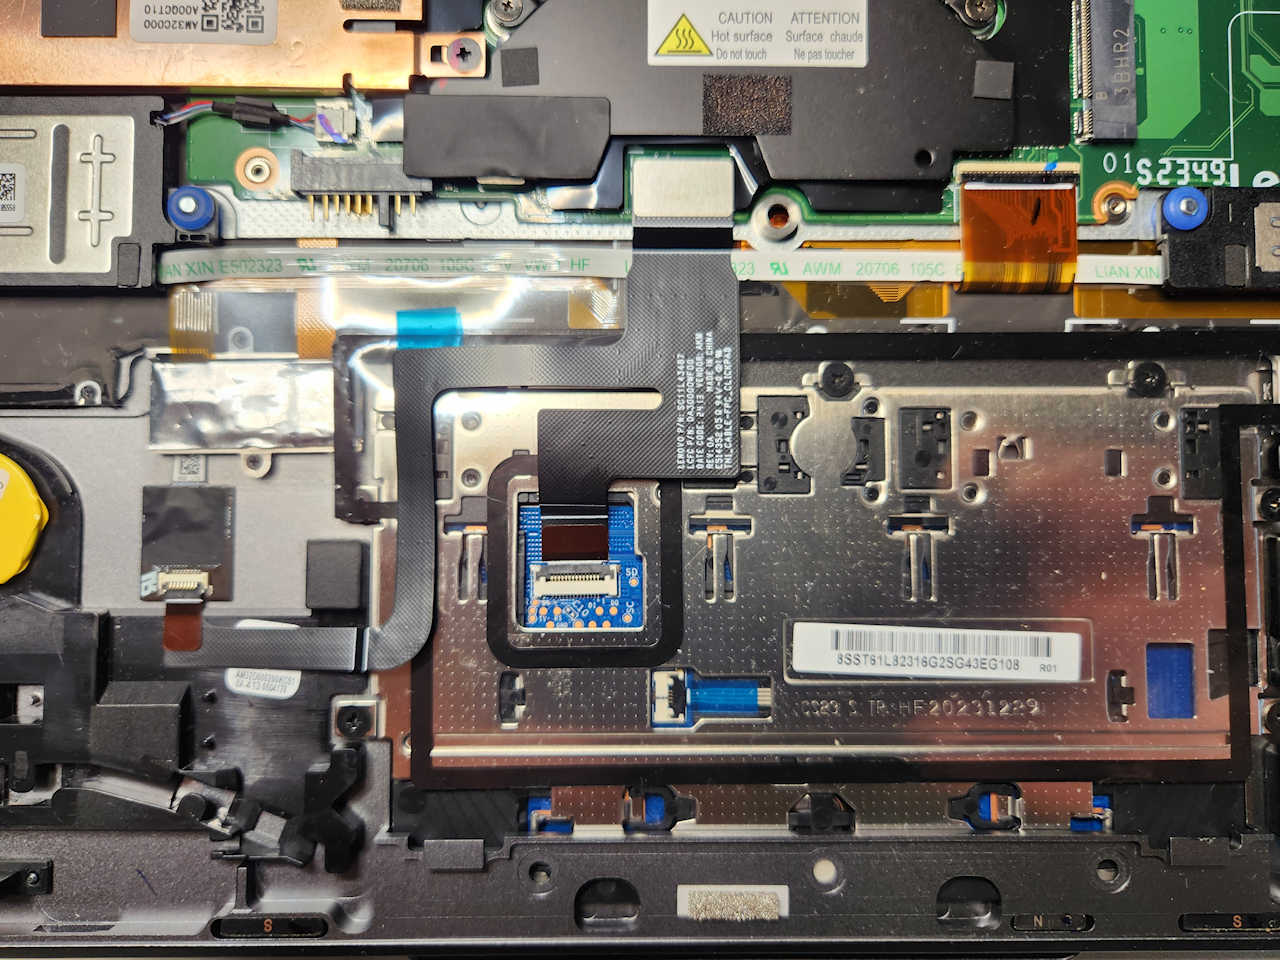
New cable installed.
Smoke test.
Battery reinstalled.
Job complete. Seems to work just fine 🙂

